The world of visual arts is immense and diverse, with numerous techniques, elements, and principles that artists use to convey their thoughts and emotions. One such vital element is contour lines. These seemingly simple lines carry the weight of an artwork’s structure, giving it definition and dimension. In essence, contour lines are the DNA of an artwork.
What are Contour Lines?
Contour lines are the fundamental lines that define the shape and form of an object in a work of art. They delineate the edges of a form and serve as the outline that distinguishes the object from its surroundings.
Table 1: Types of Contour Lines
| Type of Contour Line | Description |
|---|---|
| Actual Contour Lines | These are lines that define the edge of an object as it is. They are typically bold and noticeable. |
| Implied Contour Lines | These are not actual lines, but the viewer perceives them due to the way the elements in the artwork are arranged. |
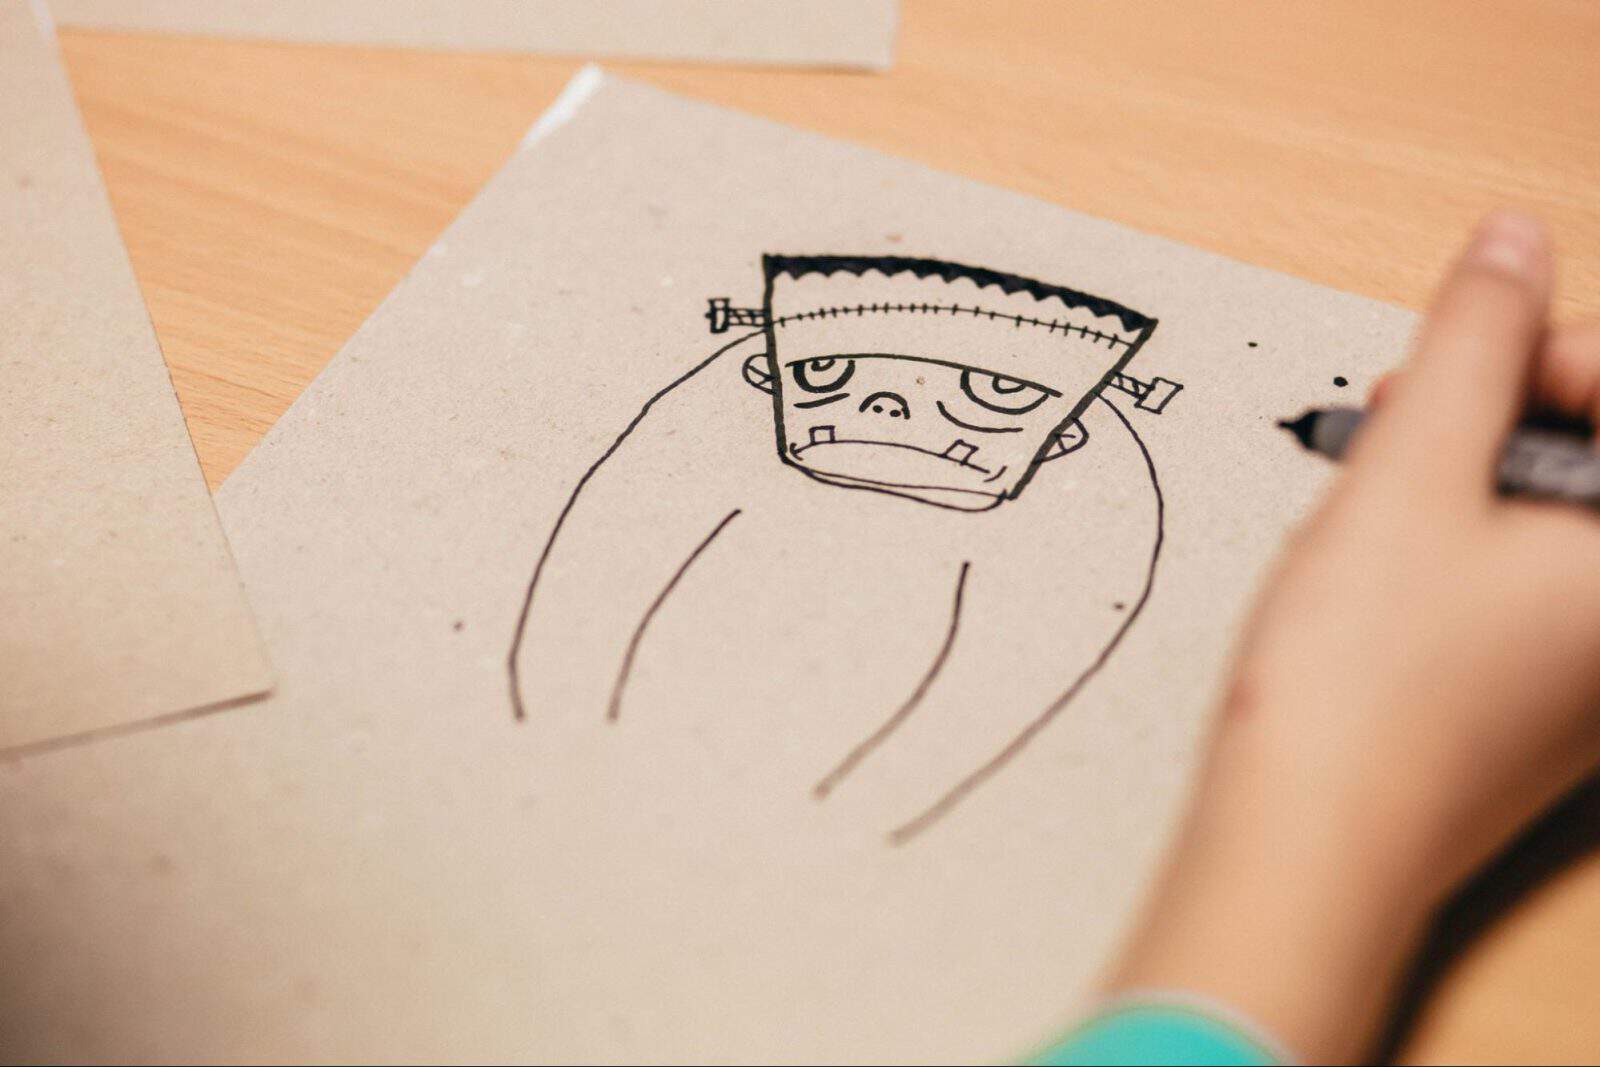
| Blind Contour Lines | These are drawn without looking at the paper, focusing only on the subject. It helps artists in enhancing their hand-eye coordination. |
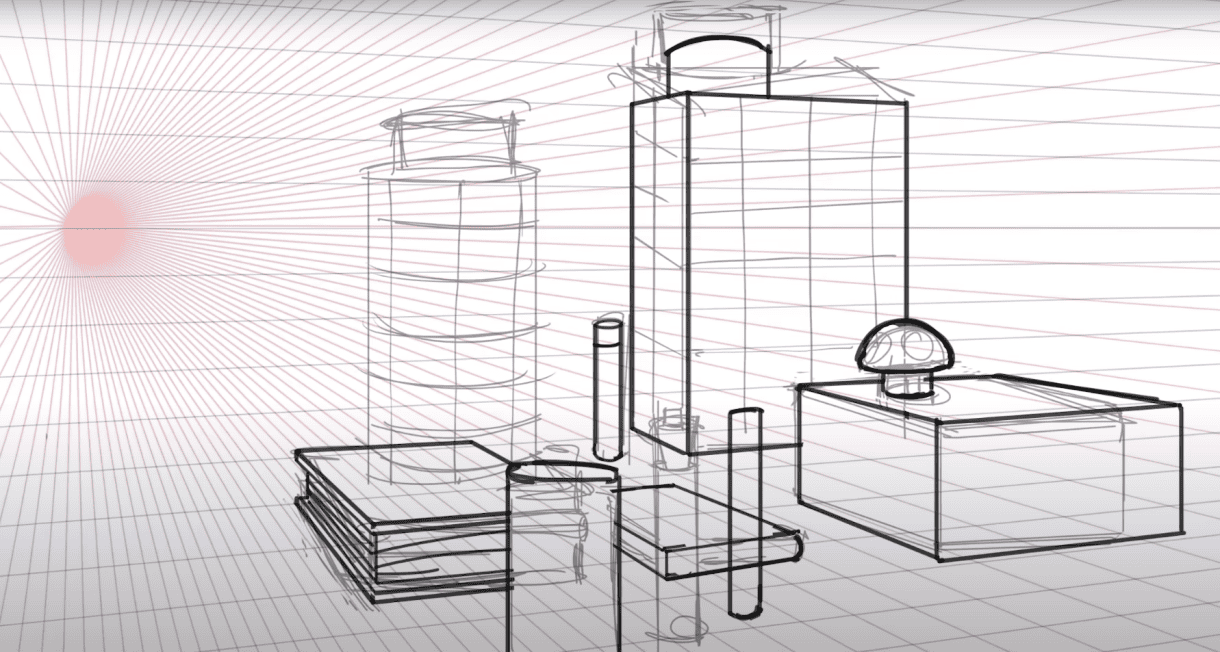
| Cross Contour Lines | These lines follow the contours of the object, adding volume and perspective to it. They are usually drawn in a pattern that follows the form of the object. |
The Importance of Contour Lines in Art
Contour lines play a pivotal role in art, and their significance can be distilled into the following key points:
Structure and Form
Contour lines provide structure to an artwork by outlining the objects within it. They give form to these objects, turning a two-dimensional shape into a three-dimensional form.
Here’s a breakdown of how contour lines contribute to the structure and form of an artwork:
- Outlining Objects: Contour lines play a crucial role as boundaries, outlining the edges and boundaries of objects within an artwork. They establish a clear distinction between different elements present in the composition. By carefully observing the natural curves, angles, and transitions of objects, artists can accurately depict their forms through the strategic placement of contour lines;
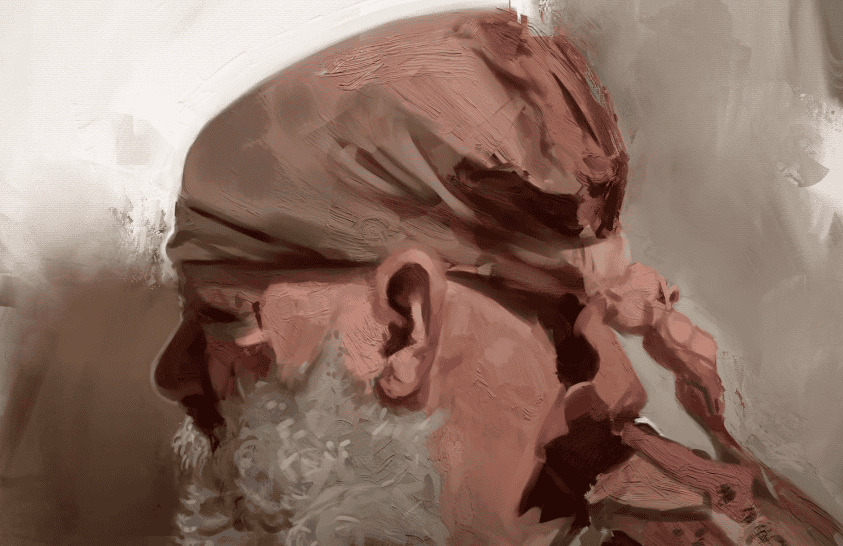
- Depth and Volume: Contour lines play a significant role in creating the perception of depth and volume within an artwork. By varying the thickness, density, and direction of the lines, artists can effectively convey the presence of light and shadow, thereby suggesting the three-dimensional nature of the depicted objects. This interplay of lines not only adds visual interest but also creates a sense of depth and dimensionality, making the artwork visually engaging and captivating to the viewer’s eye;
- Emphasizing Details: Contour lines provide artists with a powerful tool to emphasize the details and characteristics of objects within their artwork. By closely observing the contours of the subject matter, artists can capture the subtle nuances of its form, including curves, ridges, or irregularities. This meticulous attention to detail adds a sense of realism and authenticity to the artwork, making the objects appear tangible and lifelike;
- Conveying Movement and Energy: Contour lines possess the ability to convey a profound sense of movement and energy within an artwork. By utilizing dynamic and expressive lines, artists can imply motion or suggest the flow of energy throughout the composition. This technique infuses the artwork with dynamic quality, engaging the viewer and creating a palpable sense of vitality. The deliberate use of contour lines to depict movement adds a captivating element to the artwork, inviting the viewer to experience a sense of motion and energy within the static image.
Depth and Perspective
Contour lines play a crucial role in creating an illusion of depth and perspective in a flat artwork. By varying the quality of the lines, such as their thickness or thinness, artists can imbue the composition with a sense of depth and spatial relationships.
Here’s how contour lines contribute to the perception of depth and perspective:
- Varying Line Thickness: Artists can employ thicker contour lines to emphasize objects that are closer to the viewer, creating a visual prominence that suggests a sense of proximity and immediacy. In contrast, thinner contour lines can be used for objects that are farther away, creating a sense of distance and receding into the background;
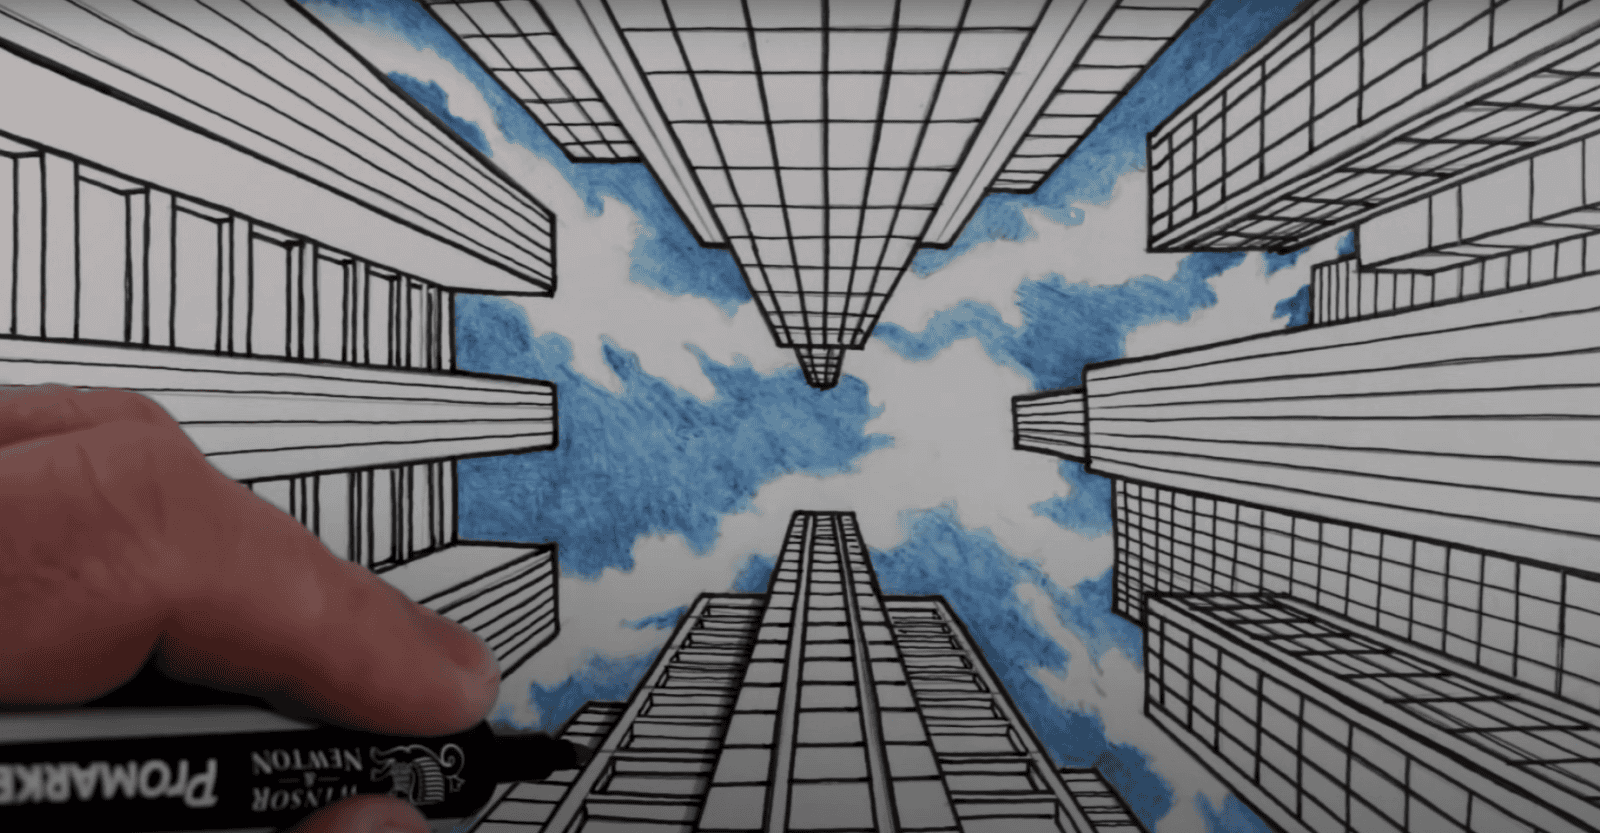
- Overlapping and Convergence: Contour lines have the ability to overlap, indicating the overlapping of objects in space. As objects overlap, the lines intersect, creating an impression of depth and spatial relationships within the artwork. Furthermore, contour lines can also converge or meet at a vanishing point, effectively conveying the illusion of distance and perspective;
- Atmospheric Perspective: Artists can effectively utilize contour lines to implement atmospheric perspective, a technique employed to simulate the effect of distance and atmospheric conditions. In this approach, objects that are closer to the viewer are depicted with more defined and detailed contour lines. As objects recede into the distance, the contour lines gradually become less distinct, lighter, and less pronounced;
- Foreshortening: Contour lines can be skillfully manipulated to depict foreshortening, a visual distortion that occurs when an object appears compressed or shortened due to its position in space. By strategically adjusting the length and direction of contour lines, artists can create the illusion of objects extending toward or away from the viewer. This technique adds a sense of depth and realism to the artwork, enhancing the perception of three-dimensionality and capturing the viewer’s attention.
Emphasis
Contour lines have the power to draw the viewer’s attention to specific parts of an artwork, allowing artists to highlight, emphasize, or isolate certain elements within the composition. By strategically using contour lines, artists can guide the viewer’s gaze and create focal points within the artwork.
Here’s how contour lines contribute to emphasis:
- Contrast and Boldness: Artists can employ contour lines with greater contrast and boldness to make certain elements stand out from the rest of the composition. Using thicker or darker lines creates visual weight, attracting the viewer’s attention to the outlined objects or areas. This contrast in line quality helps create focal points, drawing the viewer’s eye toward specific parts of the artwork;
- Isolation and Negative Space: Contour lines can be utilized to isolate or enclose specific elements within the composition. By surrounding an object or area with contour lines, artists can create a visual separation that makes it stand out from the surrounding negative space. This technique draws attention to the isolated element, emphasizing its significance within the artwork;
- Direction and Flow: The direction and flow of contour lines can be used to guide the viewer’s gaze toward a specific part of the artwork. By strategically aligning these lines, artists can create visual pathways or leading lines that direct the viewer’s eye toward the intended focal point;
- Contrast of Detail: Contour lines can delineate detailed areas in contrast to more simplified or less-defined sections within an artwork. By incorporating intricate contour lines in specific areas, artists can create a contrast of detail. This contrast of detail serves to highlight the emphasized elements and adds visual interest to the overall composition.
Movement and Rhythm
Contour lines have the ability to convey a sense of movement and rhythm within an artwork. By manipulating the direction and flow of these lines, artists can guide the viewer’s eye in a specific pattern or path, creating a dynamic and visually engaging composition.
Here’s how contour lines contribute to movement and rhythm:
- Directional Flow: Artists utilize contour lines to establish a distinct directional flow within their artwork, creating a visual pathway that leads the viewer’s eye through the composition. This deliberate trajectory not only imparts a sense of movement but also guides the viewer’s gaze along a specific path;
- Suggested Movement: Contour lines, through their placement and orientation, possess the ability to suggest movement. Artists can imply a sense of motion or energy within their artwork by incorporating curved or undulating lines. Whether mimicking the natural movement of objects or creating a dynamic visual rhythm, these lines captivate the viewer’s attention;
- Rhythmic Patterns: Through the repetition and variation of contour lines, artists can establish rhythmic patterns within their artwork. By employing lines that repeat at regular intervals or creating alternating patterns, they can achieve a sense of rhythm and visual harmony. This infusion of rhythm adds a dynamic and captivating element to the composition, engaging the viewer’s eye and creating a palpable sense of movement;
- Focal Points and Visual Hierarchy: Contour lines serve as a powerful tool for creating focal points and establishing a visual hierarchy within artwork. Artists can achieve this by converging lines or clustering them in a specific area to draw attention and create a visual anchor. The focal point, combined with the movement and rhythm generated by the contour lines, enhances visual interest and guides the viewer’s exploration of the artwork, providing a captivating experience.
How to Use Contour Lines in Art
The effective use of contour lines in art is a skill that takes time to master. Here are some steps to guide you:
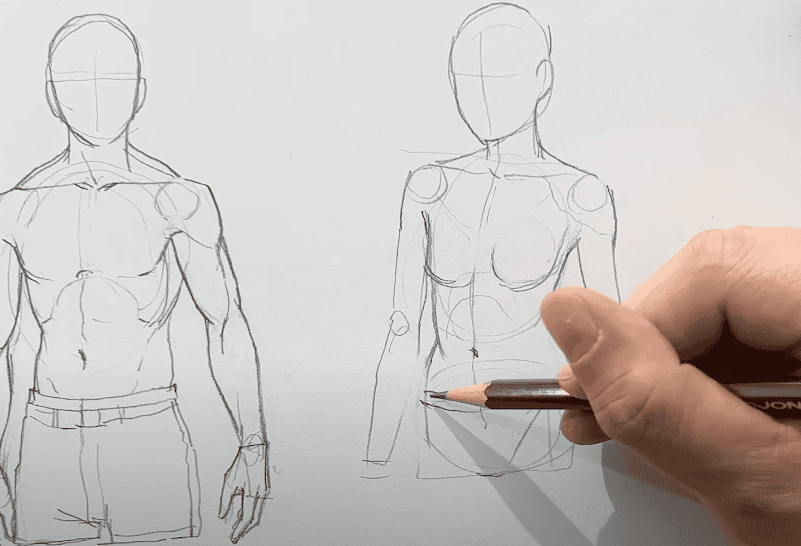
- Observe Your Subject: The first step is to observe your subject closely. Look for the object’s edges and try to understand its form and volume;
- Begin with Light Sketches: Start by sketching light contour lines that trace the edges of your subject. This initial sketch serves as a guideline for the final artwork;
- Refine Your Lines: Once you have the basic outline, refine these lines. Make sure they accurately represent the shape and form of the subject;
- Vary Your Line Quality: Play with the thickness, thinness, and darkness of your lines. This variation can add depth and dimension to your artwork;
- Add Details: Use contour lines to add details to your artwork. These details can bring your subject to life and make your artwork more realistic.
Contour Lines in Different Art Styles
| Art Style | Description |
|---|---|
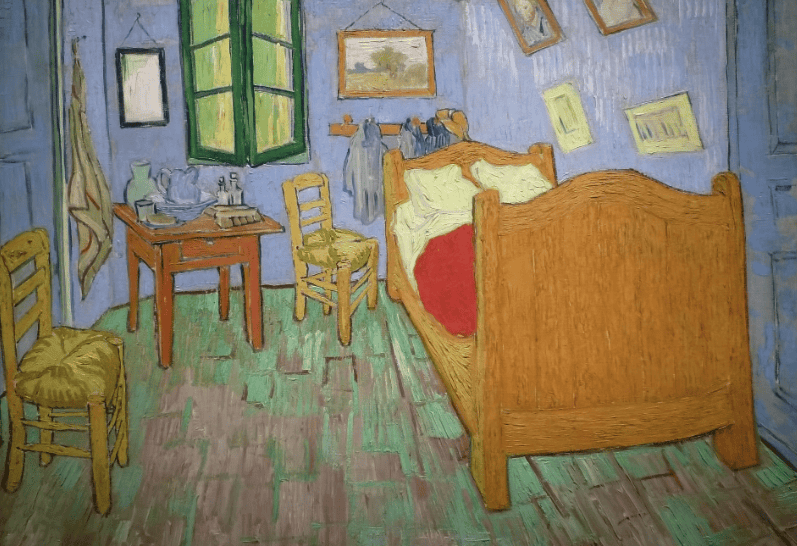
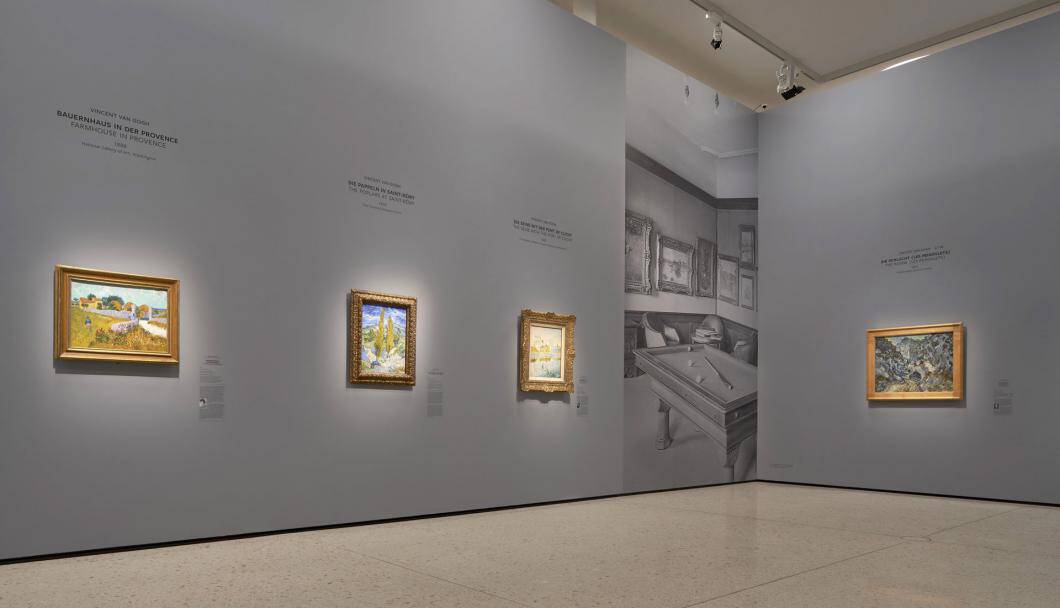
| Realism | In realistic artworks, contour lines are subtle and carefully used to depict the object as it appears in real life. |
| Cubism | Cubism, founded by Picasso and Braque, uses contour lines to break down objects into geometric shapes and reassemble them in abstract ways. |
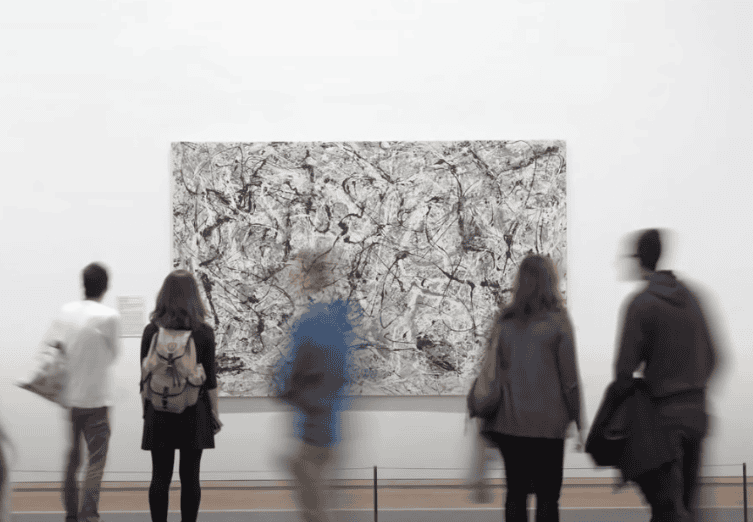
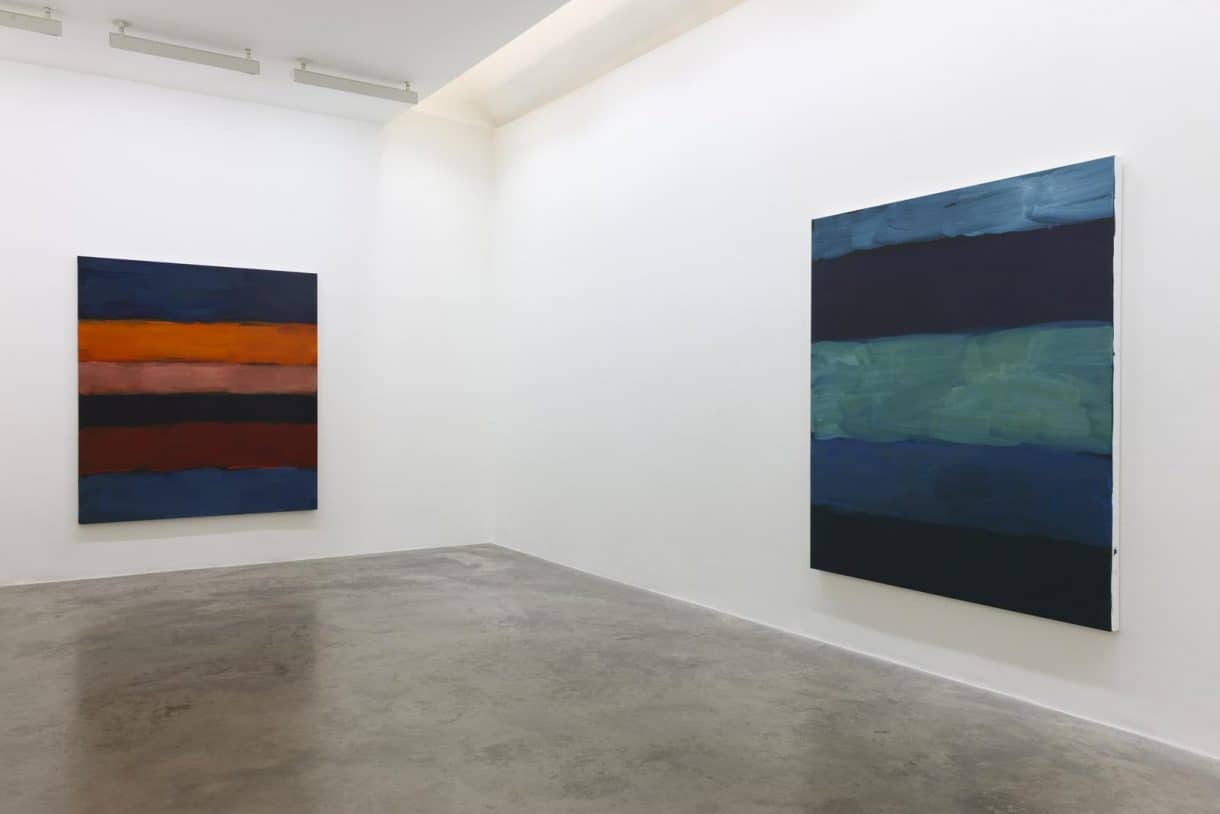
| Abstract Art | In abstract art, contour lines are often used in a more expressive and less literal manner. They may not depict a recognizable object but rather express an idea or emotion. |
| Pop Art | Pop art uses bold and vibrant contour lines to depict popular culture symbols in a visually striking manner. |
The Future of Contour Lines in Art
With the advent of digital art, the use of contour lines has evolved. Digital tools now allow artists to experiment with different line qualities more easily, opening up new possibilities for using contour lines in art. This evolution, however, does not diminish the importance of traditional contour drawing as it still forms the basis for understanding form and volume in any artwork.

The Power of Contour Lines
Contour lines are more than just outlines—they are the skeleton of an artwork, the map that guides an artist in their creative journey. They define, emphasize, and add depth, transforming simple shapes into intricate artworks. As artists, understanding and harnessing the power of contour lines can turn the ordinary into the extraordinary, making your artwork come alive.
Conclusion
Contour lines are an essential tool in an artist’s arsenal. They are the unsung heroes that breathe life into a blank canvas, transforming it into a dynamic piece of art. They sketch out the story, build the visual structure, and guide the viewer’s eye across the artwork. Whether you’re a budding artist just starting your creative journey or an experienced professional, mastering the use of contour lines can significantly enhance your artistic abilities.