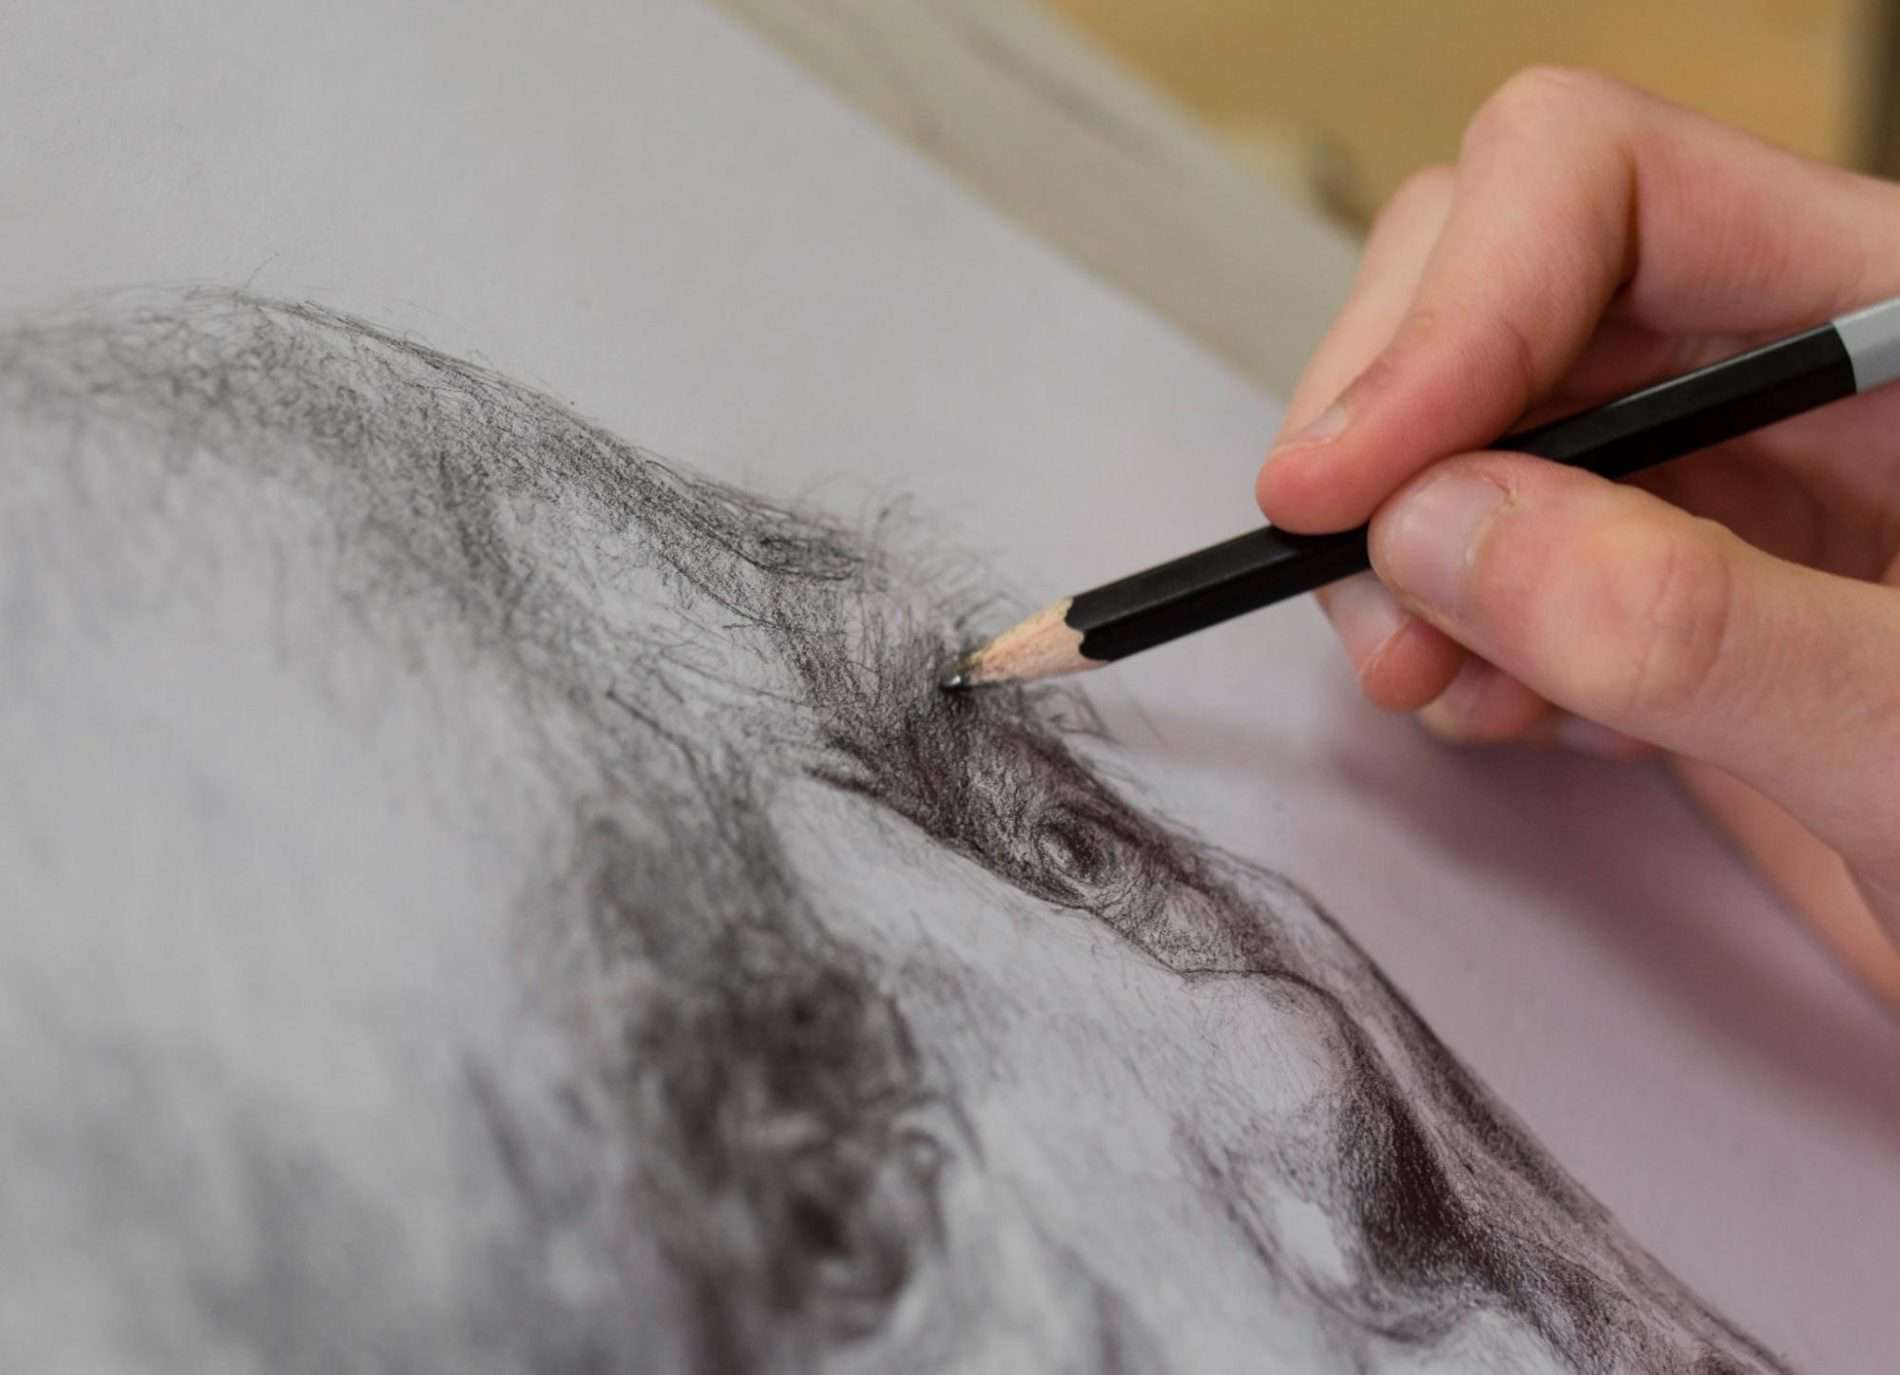
Drawing is an art form that allows us to express our creativity and skill. One of the more advanced techniques is 3D drawing, which can make flat images look as though they’re leaping off the page. Let’s dive into the comprehensive guide on how to make 3D drawings.
Understanding the Basics of 3D Drawings
3D drawing is a technique that gives a three-dimensional effect to your drawings. It involves understanding and applying the principles of perspective, shading, and proportions. It’s all about tricking the human eye into believing that a 2D image has depth.
Perspective
By manipulating perspective, artists can create a sense of depth and distance, effectively guiding the viewer’s gaze toward specific focal points within the artwork. The careful use of vanishing points and proportional scaling adds a sense of realism, immersing the observer in the three-dimensional world depicted on a two-dimensional surface.
Shading
Shading techniques involve the careful manipulation of light and dark values to render:
- Volume;
- Texture;
- Form in a drawing.
By strategically applying shadows and highlights, artists can create a sense of three-dimensionality, adding depth and realism to their artwork.
Proportions
Proportions play a vital role in creating believable 3D drawings. They determine the relationships in size between different parts of an object, ensuring its visual coherence and accuracy. By accurately capturing and representing proportions, artists can achieve a sense of realism and maintain the integrity of the depicted subject.
Materials Needed for 3D Drawings
| Material | Description |
|---|---|
| Graphite Pencils | These are your primary tools for sketching and shading. Get a variety of hardness levels, ranging from hard (H) to soft (B). |
| Erasers | A kneaded eraser is useful for lightening areas of shading, while a rubber eraser is great for completely removing lines. |
| Paper | For beginners, standard sketchbook paper is fine. As you progress, you might want to explore different types of drawing paper. |
| Rulers and Geometry Set | These tools help you make precise lines and angles. |
| Blending Tools | A blending stump, cotton swabs, or even your finger can be used to blend graphite for a smooth, realistic look. |
| Colored Pencils (optional) | If you want to create colored 3D drawings, a set of colored pencils is necessary. |
Step-by-Step Guide to Creating a 3D Drawing
1. Choose and Understand Your Subject
- Choose a simple object for your first 3D drawing, like a cube or a cylinder;
- Look at the object from different angles and observe how its appearance changes;
- Notice where the light source is and where shadows fall.
2. Begin Sketching Your Object
- Draw the outline of your object. For a cube, start with a square;
- Add the lines for perspective. For a cube, draw three lines extending from each of the three visible corners of your square. Make sure these lines are going toward the same direction as if they’re meeting at a far-off point (the vanishing point);
- Complete the cube by drawing another square, connecting the ends of the perspective lines.
3. Add Shading
- Determine where your light source is coming from;
- The side of the object that is facing the light source will be the lightest. The side opposite will be the darkest (shadow);
- Start shading from the darkest area to the lightest, using different pencils for different levels of darkness.
4. Refine Your Drawing
- Adjust your shading as needed. Use an eraser to lighten areas if needed, or add more graphite to darken them;
- Add reflective light. This is a lighter area on the shadow side of the object where light is bouncing back from the surrounding environment;
- Use a blending tool to smooth out the shading and eliminate visible lines.
5. Finalize Your 3D Drawing
- Review your drawing from a distance. This can help you see any issues with proportion or shading that you may not notice up close;
- Make any necessary corrections;
- Sign your work. Congratulations, you’ve completed your first 3D drawing.
Advanced Techniques for 3D Drawing
As you get more comfortable with the basics, you can start to explore more advanced 3D drawing techniques:
Multiple Point Perspective
Multiple-point perspective techniques, such as two-point or three-point perspective, are employed in more complex drawings to accurately represent objects with varying angles and orientations. These methods expand upon the simple one-point perspective used for basic shapes like cubes, allowing artists to create intricate compositions with realistic depth and spatial complexity.
Contour Lines
Contour lines are instrumental in capturing the form and shape of an object, as they elegantly trace its contours and curves. These lines dynamically follow the object’s contours, aiding in conveying its three-dimensionality even in the absence of shading.
Complex Shading Techniques
As your skills progress, you can delve into the realm of more intricate shading techniques, including:
- Cross-hatching;
- Stippling;
- Various others.
These advanced methods offer a greater level of detail and texture to your drawings, allowing you to achieve nuanced effects and refine the overall visual impact.
Color
Adding color to your 3D drawings can enhance their realism and visual impact. It’s important to understand that different colors can interact with light and shadow in unique ways, affecting the overall perception of depth and form.
Tips and Tricks for Effective 3D Drawings

Tips and Tricks for 3D Drawings
| Tips and Tricks | Description |
|---|---|
| Practice Regularly | Like any skill, the more you practice, the better you’ll get. Make drawing a daily habit. |
| Use Reference Images | If you’re drawing something complex, having a reference image can be very helpful. |
| Be Patient | Don’t rush the process. Quality 3D drawings take time and patience. |
| Learn from Others | Look at other 3D drawings and learn from them. You can also take classes or watch tutorials online. |
| Experiment | Don’t be afraid to try different techniques, tools, or subjects. You might discover a new style that you love. |
Conclusion
3D drawing is a challenging yet rewarding skill that can take your artistic abilities to the next level. It’s all about understanding perspective, mastering shading techniques, and ensuring correct proportions. Remember, practice makes perfect. The more time you invest in honing your skills, the more life-like and detailed your 3D drawings will become. So, pick up your pencil and start creating!


