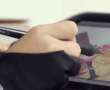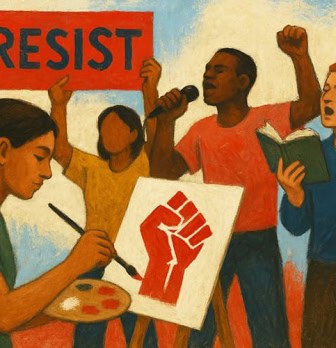
Diving into the world of art can be as enthralling as it is daunting. Embarking on the journey with oil painting can sometimes feel intimidating due to its rich history and unique techniques. However, for those just starting, understanding the basics can remarkably transform your first experiences from a daunting task into a journey of creative exploration. The beauty of oil painting lies in its blend of precision and freedom, allowing you to immerse yourself fully in the process. As you gain knowledge, each brushstroke becomes a meaningful dialogue between you and your canvas, fostering an intimate connection with your art.
Understanding Your Materials
1. Oil Paints
Oil paints are composed of pigments suspended in oil, usually linseed. Their quality can significantly impact the result of your artwork.
Here’s a beginner’s guide to some commonly used oil paints:
| Paint Color | Characteristics |
|---|---|
| Cadmium Yellow | Bright, strong tinting |
| Cadmium Red | Warm, with excellent covering ability |
| Ultramarine Blue | Deep, transparent |
| Ivory Black | Deep, rich black |
| Titanium White | Opaque, reliable white |
These colors provide a starting point and can be mixed to create a wide range of hues.
2. Brushes
Choosing the right brushes is crucial. Brushes come in various shapes and sizes, each serving a specific purpose in oil painting:
- Flat Brushes: Good for covering large areas and making bold strokes;
- Round Brushes: Best for detailing and line work;
- Filbert Brushes: Suitable for blending.
When starting, having a variety of these types in different sizes can be helpful.
3. Mediums
Mediums alter the texture and drying time of your oil paint. Here are some you may consider:
- Linseed Oil: Reduces the thickness of the paint and speeds drying time;
- Turpentine or Mineral Spirits: Used for cleaning brushes and thinning the paint.
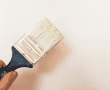
4. Canvas
Canvas is the most popular surface for oil painting. Canvases come in various sizes and are typically stretched over a wooden frame. For beginners, pre-stretched and primed canvases are ideal.
The Process of Oil Painting
After gathering your materials, it’s time to start painting.
| Title | Description |
|---|---|
| Setting Up Your Palette | Arrange your colors along the edges of your palette, leaving the center open for mixing. Usually, the layout follows a specific order: whites, yellows, reds, blues, and finally, blacks. |
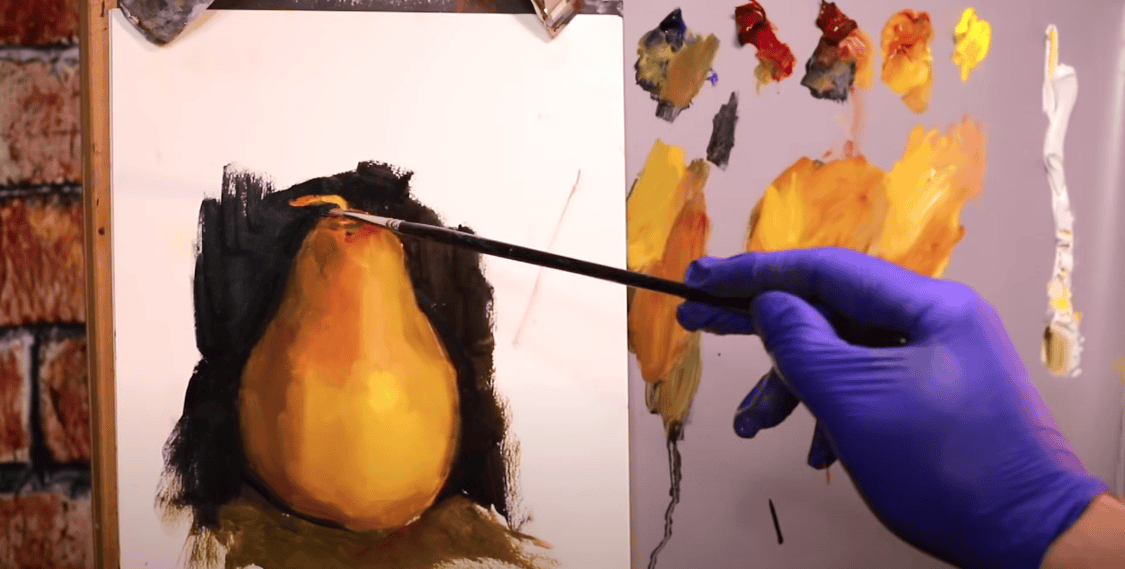
| Sketching the Subject | Begin by sketching your subject onto the canvas. A common technique is using thinned paint (often a neutral color like burnt umber), allowing you to correct errors before you dive into colors. |
| Blocking In | “Blocking in” is the process of defining your color shapes. Using your sketch as a guide, start filling in the large areas of color. Keep your paint thinned and avoid details at this stage. |
| Building Up Layers | Oil painting is all about layering. Once your blocked-in base layer is dry, you can start building up your paint layers. This step allows you to create a depth of color not possible in a single layer. |
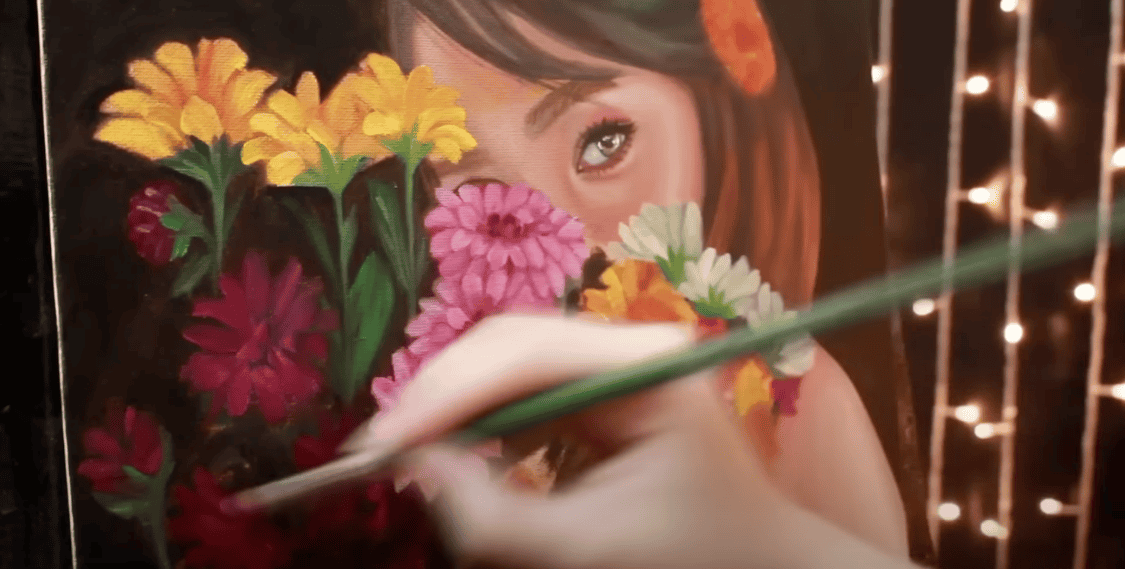
| Details and Textures | With a strong foundation laid down, you can now focus on the finer details of your painting. You can use thicker, less diluted paint in this stage for textures. |
| Glazing | Glazing involves applying a thin, transparent layer of oil paint over a dried layer. This method can alter the appearance of underlying colors and add a luminous quality to your painting. |
Conclusion
Indeed, oil painting is a transformative art form that allows individuals to explore the depths of their creativity. As a beginner, the journey may seem overwhelming, but understanding the fundamentals, from the tools and materials to the process itself, can serve as a reliable roadmap. As you delve deeper into this vibrant world of color and texture, not only will you gain technical skills, but you’ll also discover your unique artistic voice. Remember, every stroke on the canvas brings you closer to mastery. Enjoy each moment of the process, and soon enough, you’ll find yourself not just an amateur, but an artist in your own right.
FAQS
Oil paint dries slower than other types of paint. Depending on the thickness of the paint layer and the medium used, it can take anywhere from a few days to a couple of weeks to fully dry.
No, oil and water do not mix. To thin oil paint, you must use a medium such as linseed oil or turpentine.
Brushes should be cleaned with turpentine or mineral spirits, then washed with warm soapy water to remove any remaining paint and oil.
To ensure longevity, use good quality materials, paint on a properly prepared surface, and protect your finished work with a varnish.