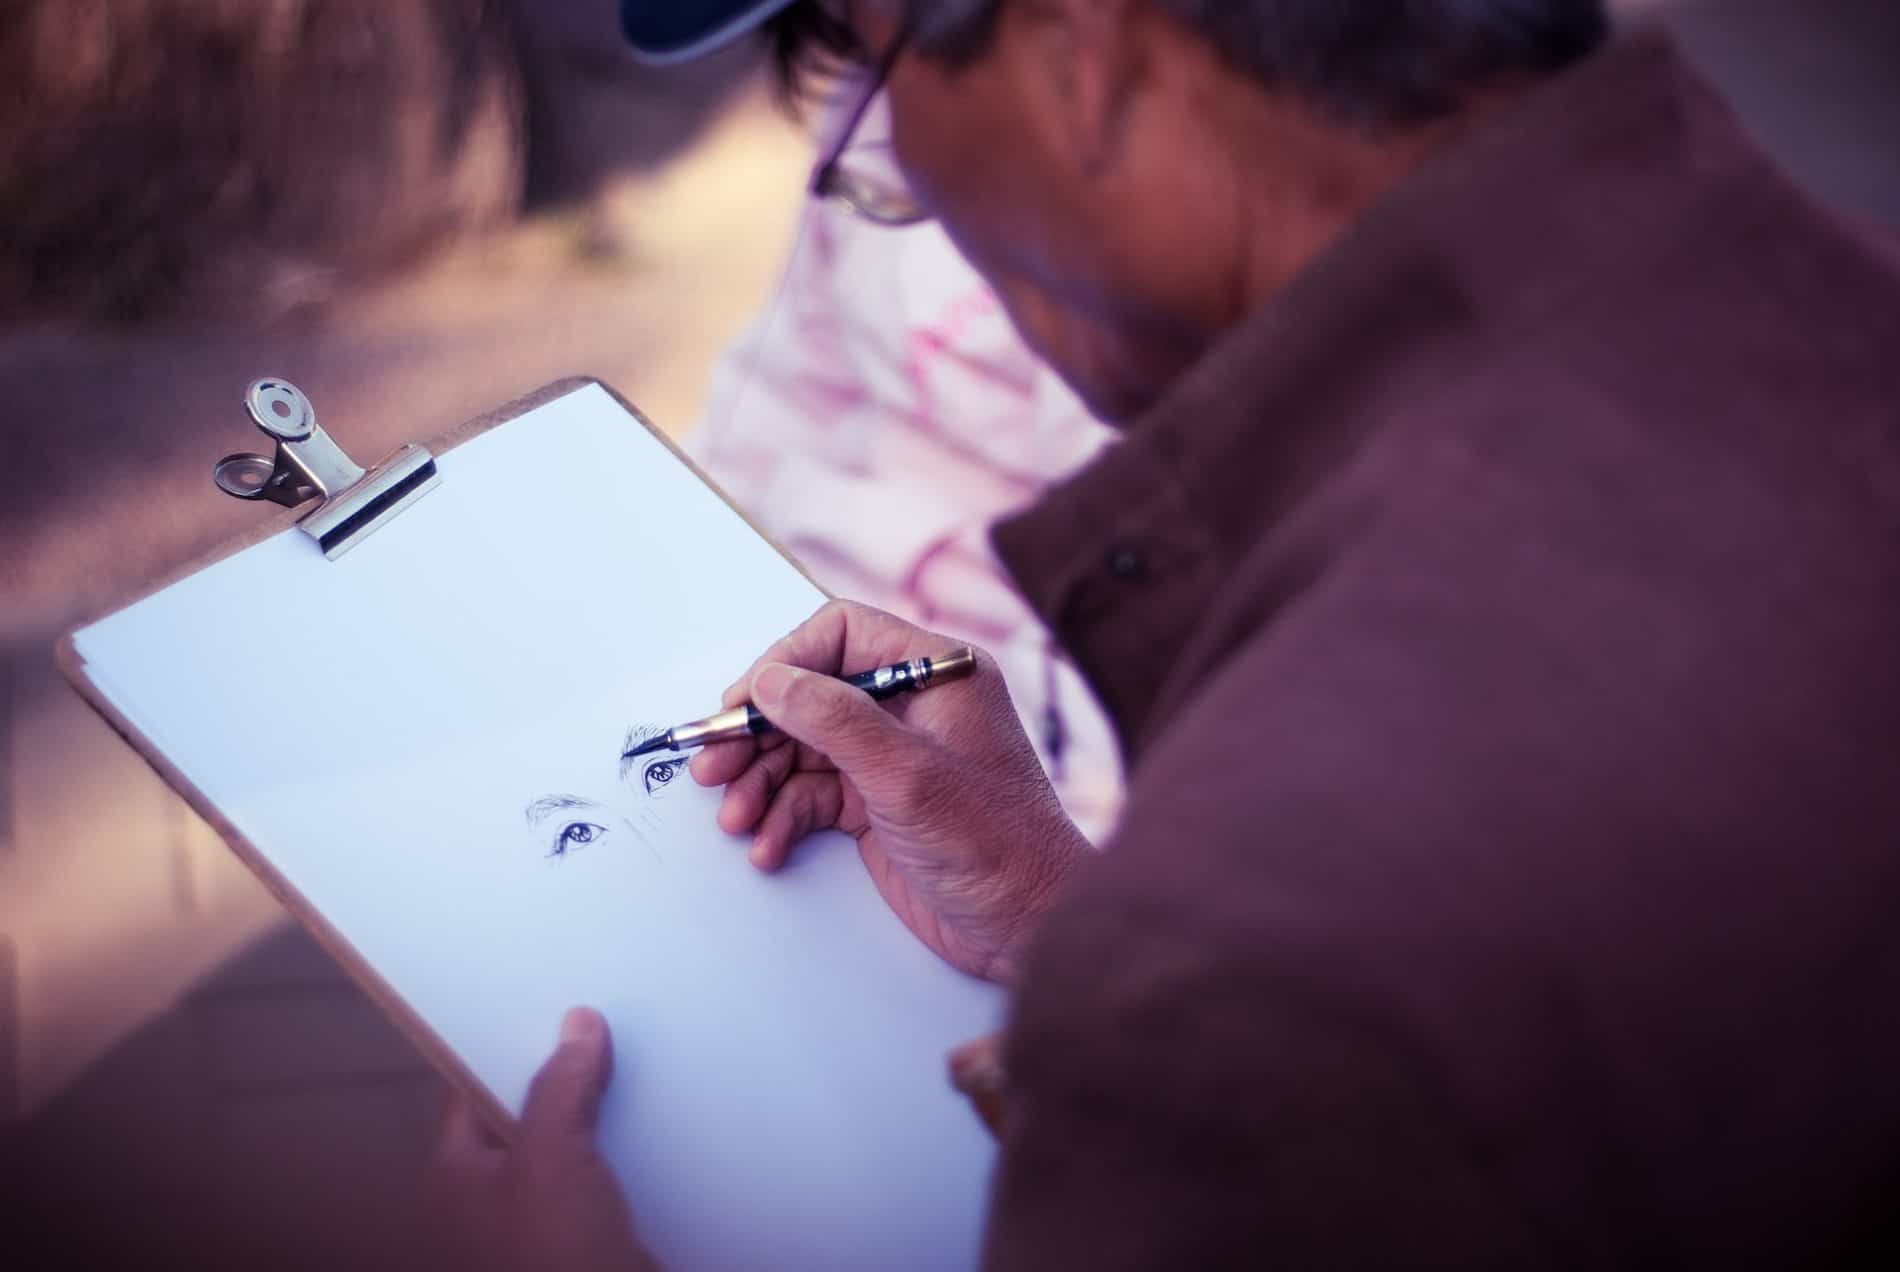
Drawing is a wonderful way to express your creativity and engage in a relaxing and fulfilling activity. Whether you are a beginner or an experienced artist, having a list of easy things to draw step by step can provide you with inspiration and guidance. In this article, we will present 30 fun and achievable drawing ideas, complete with detailed step-by-step instructions. So, grab your pencil and paper, and let’s embark on a journey of artistic exploration!
Animals
When it comes to drawing animals, there are endless possibilities. Here are five easy animal drawings to get you started:
1. Cat
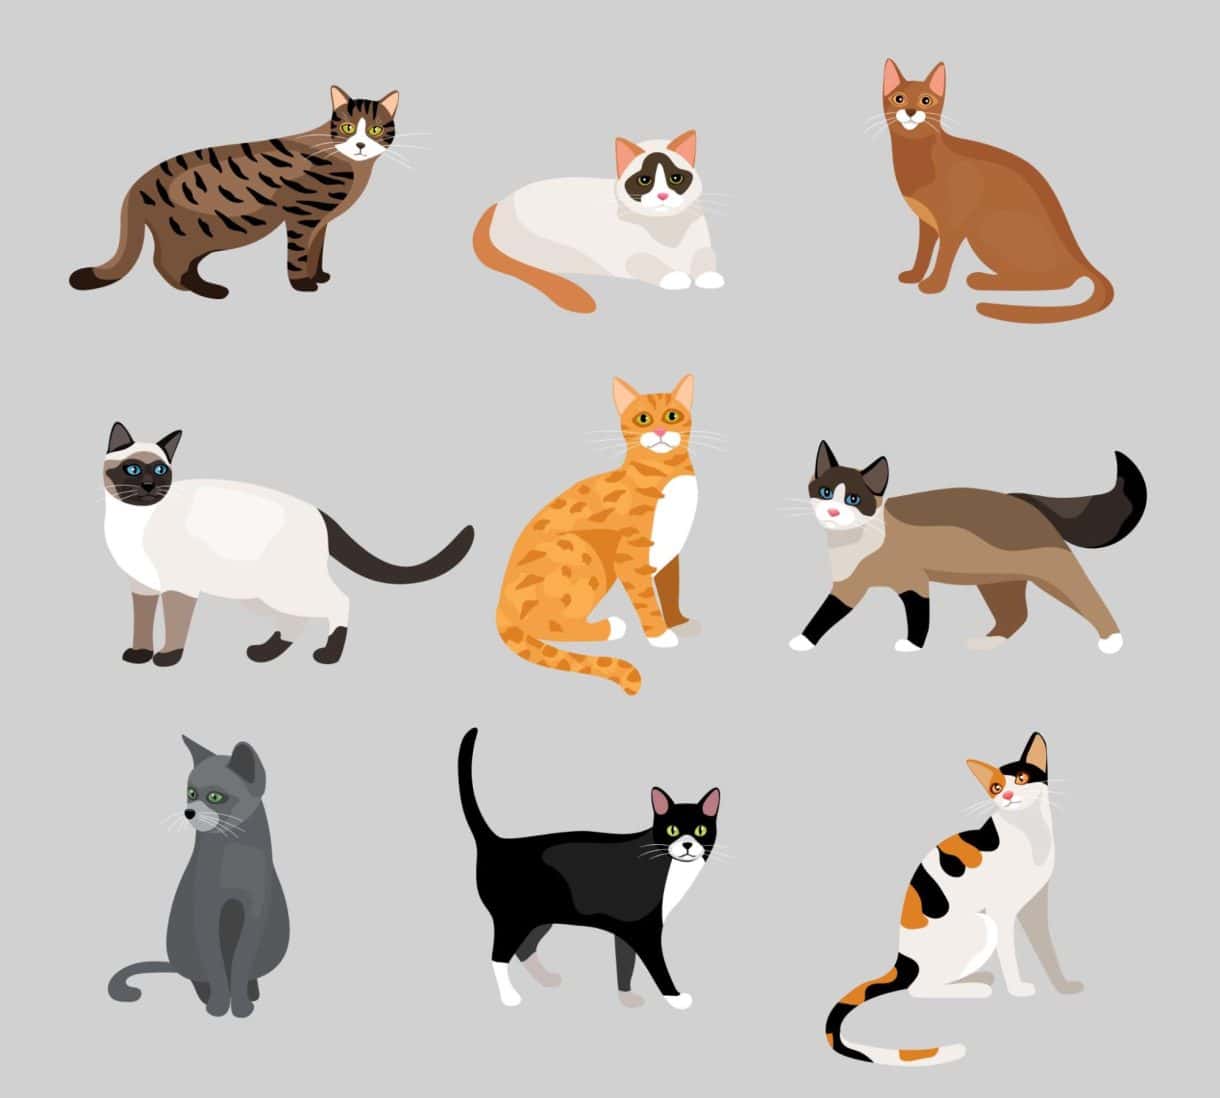
- Start with the head. Draw a basic oval shape that will serve as the cat’s head;
- Add triangle-shaped ears on top of the head. Position them on either side of the head, pointing slightly outward;
- Draw the eyes, nose, and mouth. Place the eyes in the middle of the head, drawing two small ovals or circles. Below the eyes, draw a small triangle for the nose, and a curved line for the mouth;
- Complete the body and tail. Extend a curved line down from the head to create the cat’s back. Then, draw the rest of the body using another curved line that connects to the back, forming the cat’s belly. For the tail, start at the back and draw a long, curved line that tapers towards the end;
- Add details like whiskers and fur. Draw short, curved lines on each side of the cat’s nose for the whiskers. To represent fur, add short, quick strokes around the cat’s head and body, giving it a fluffy appearance.
2. Dog
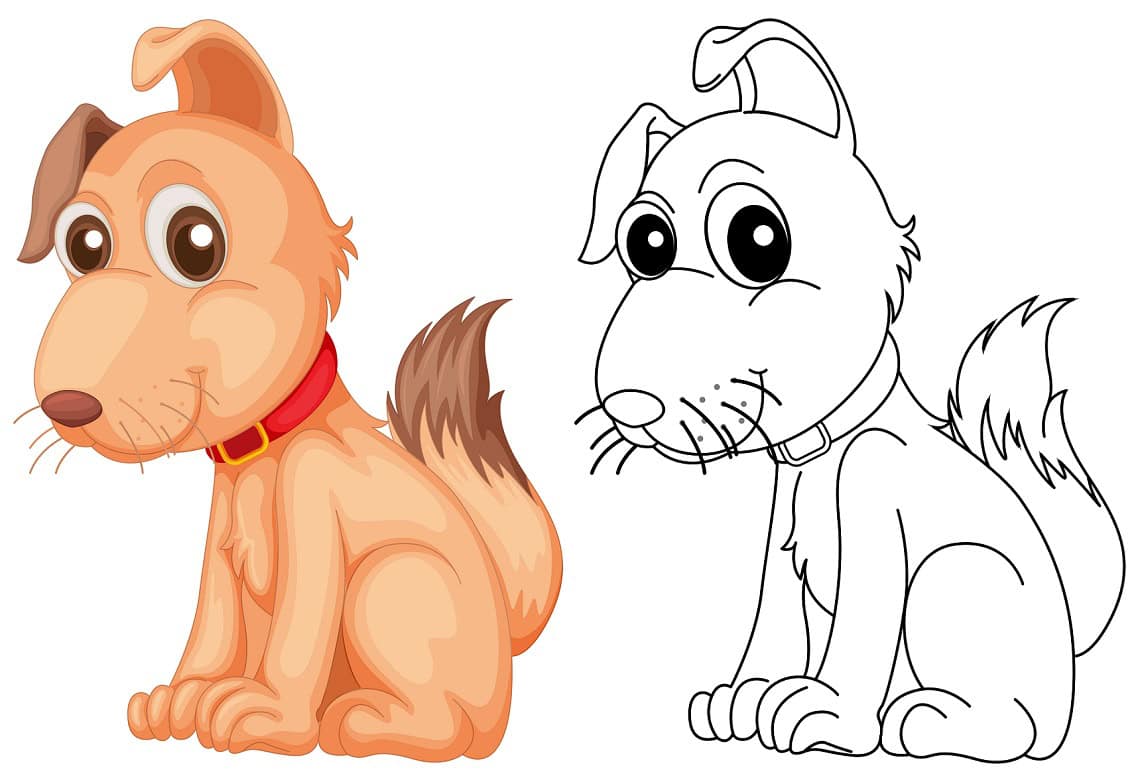
- Start by drawing a circular shape for the dog’s head. This will be the foundation of your drawing;
- Add pointy ears on top of the head. Draw two triangular shapes on either side of the head, pointing upwards or outwards depending on the dog breed;
- Draw the eyes, nose, and mouth. Position the eyes within the head, drawing two small circles or ovals. Just below the eyes, draw a triangular or oval shape for the nose. Add a curved line below the nose to represent the mouth;
- Sketch the body and legs. Extend a curved line from the bottom of the head to create the dog’s back. Then, draw the chest and belly using another curved line. Connect the body with four lines to create the legs. Depending on the dog breed, adjust the length and thickness of the legs accordingly;
- Finish with a wagging tail. Extend a curved line from the back of the body, curving it upwards or sideways to represent the dog’s tail. You can add a few small, curved lines at the end of the tail to give it a wagging appearance;
- Add fur texture for a more realistic look. Using short, quick strokes, create a textured effect around the dog’s body and head to represent fur. Vary the length and direction of the strokes to add depth and dimension.
3. Elephant

- Begin by drawing a large oval for the elephant’s body. This will serve as the main structure;
- Add a smaller oval shape on one side of the body for the elephant’s head. Connect it to the body using a curved line;
- Draw large ears on top of the head. Elephants have distinctively large ears, so make them proportionate to the head size;
- Add the eyes, tusks, and trunk. Position the eyes within the head, drawing small, circular shapes. Below the eyes, draw two long, curved lines for the tusks. For the trunk, extend a curved line down from the middle of the head and then bring it back up, creating a loop at the end;
- Outline the legs and tail. Extend four lines down from the body to create the elephant’s legs. Elephants have thick and sturdy legs, so make them appropriately wide. For the tail, draw a curved line that extends from the back of the body;
- Add wrinkles and texture to depict the elephant’s skin. Elephants have wrinkled and textured skin, so you can add curved lines and squiggles all over the body and head to represent this texture. Be sure to emphasize the wrinkles around the trunk and the knees.
4. Owl
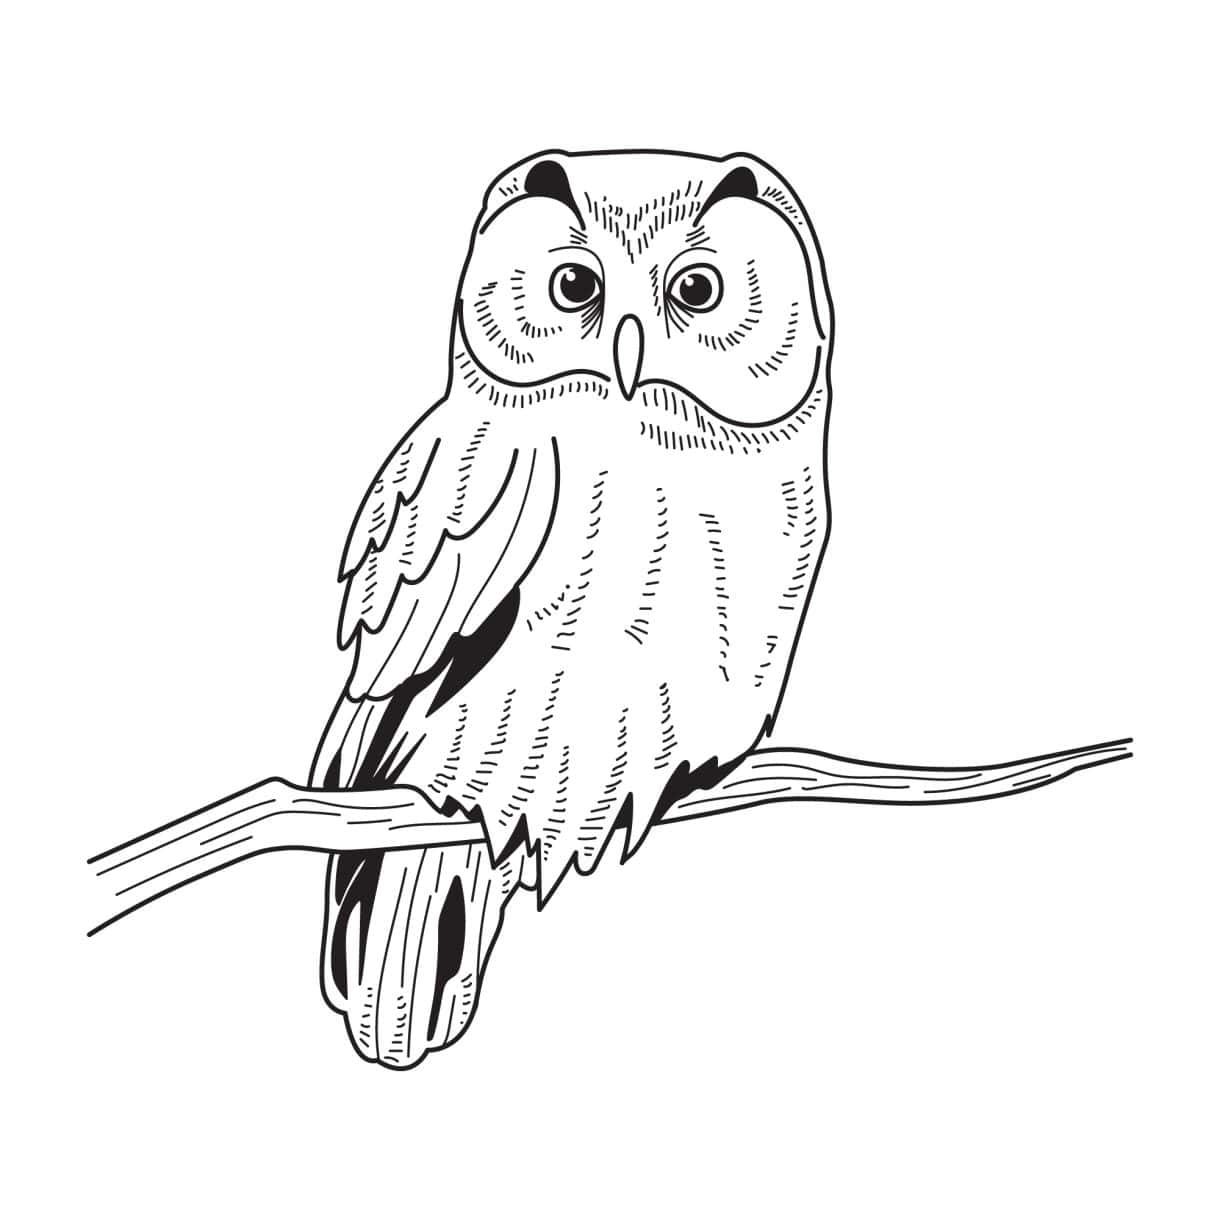
- Start by drawing a round shape for the owl’s head. This will be the foundation of your drawing;
- Draw large, round eyes within the head. Owls are known for their big, captivating eyes. Place two large circles inside the head, leaving space for other facial features;
- Add a triangular beak below the eyes. Draw a small triangle shape that points downwards in the center of the face, connecting the bottom points to the sides of the eyes;
- Add feather details to the head and body. Owls have distinctive feathers on their heads called “ear tufts” or “horns.” Draw curved lines or shapes on top of the head to represent these tufts. Then, add curved lines on the body to depict feathers, giving the owl a fluffy appearance;
- Finish with wings and claws. Extend curved lines from the sides of the body to create the wings. Owls have broad wings, so make sure to make them wide and rounded. Draw curved lines or sharp triangles at the bottom of the body to form the claws;
- Consider adding patterns or colors to make your owl unique. Owls come in various colors and patterns, so feel free to add your own creative touch. You can incorporate stripes, spots, or unique color combinations to make your owl stand out.
5. Fish
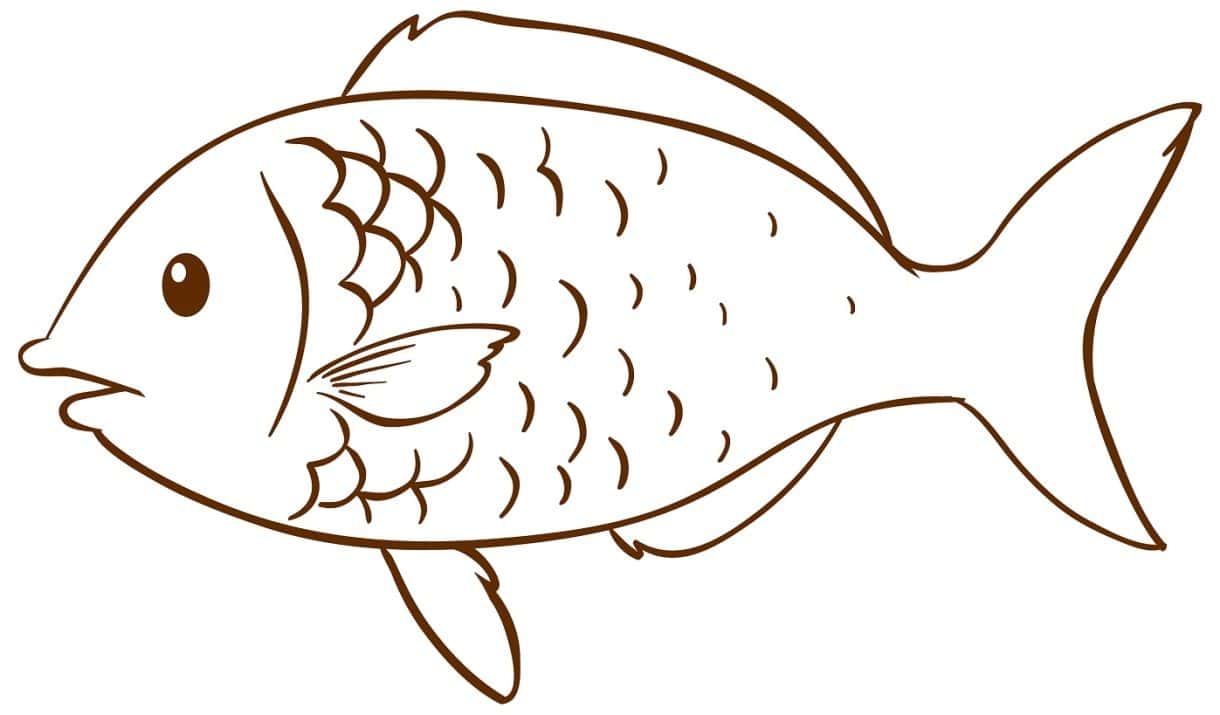
- Begin by drawing an elongated oval for the fish’s body. This will serve as the main structure of your fish;
- Add a triangle-shaped tail at the end of the body. Extend two lines from the bottom of the oval, converging at a point to form the tail;
- Draw fins on the fish. Add a triangular fin on the top of the fish, towards the front of the body. Then, draw another triangular fin on the bottom, towards the back of the body. Finally, add a small fin on each side of the body, slightly behind the head;
- Add the fish’s eyes and mouth. Position the eyes on either side of the fish’s head, towards the front. Draw two small circles or ovals for the eyes. Below the eyes, draw a small curved line to represent the mouth;
- Enhance your fish drawing by adding scales and patterns. Fish have scales covering their bodies, so you can draw small, overlapping curved lines all over the body to depict scales. You can also experiment with different patterns or colors to make your fish unique. For example, you can add stripes, spots, or vibrant colors to mimic different fish species.
Nature
Nature offers a plethora of beautiful elements that can inspire your drawings. Here are five nature-inspired ideas to ignite your artistic imagination:
6. Flower
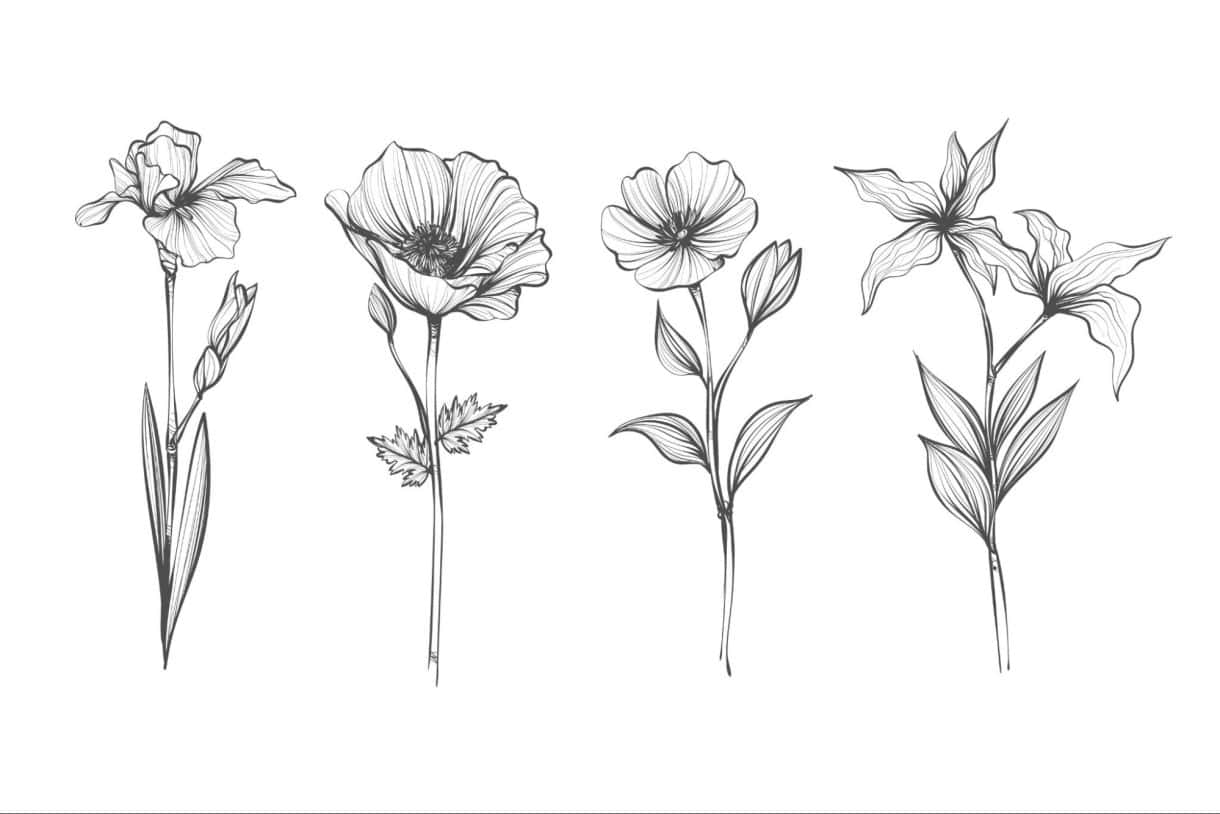
- Begin with a simple circle or oval for the flower’s center;
- Draw petals around the center, creating a symmetrical shape;
- Add details like veins on the petals;
- Draw a stem extending from the bottom of the flower;
- Add leaves along the stem;
- Consider using different colors to bring your flower to life.
7. Tree
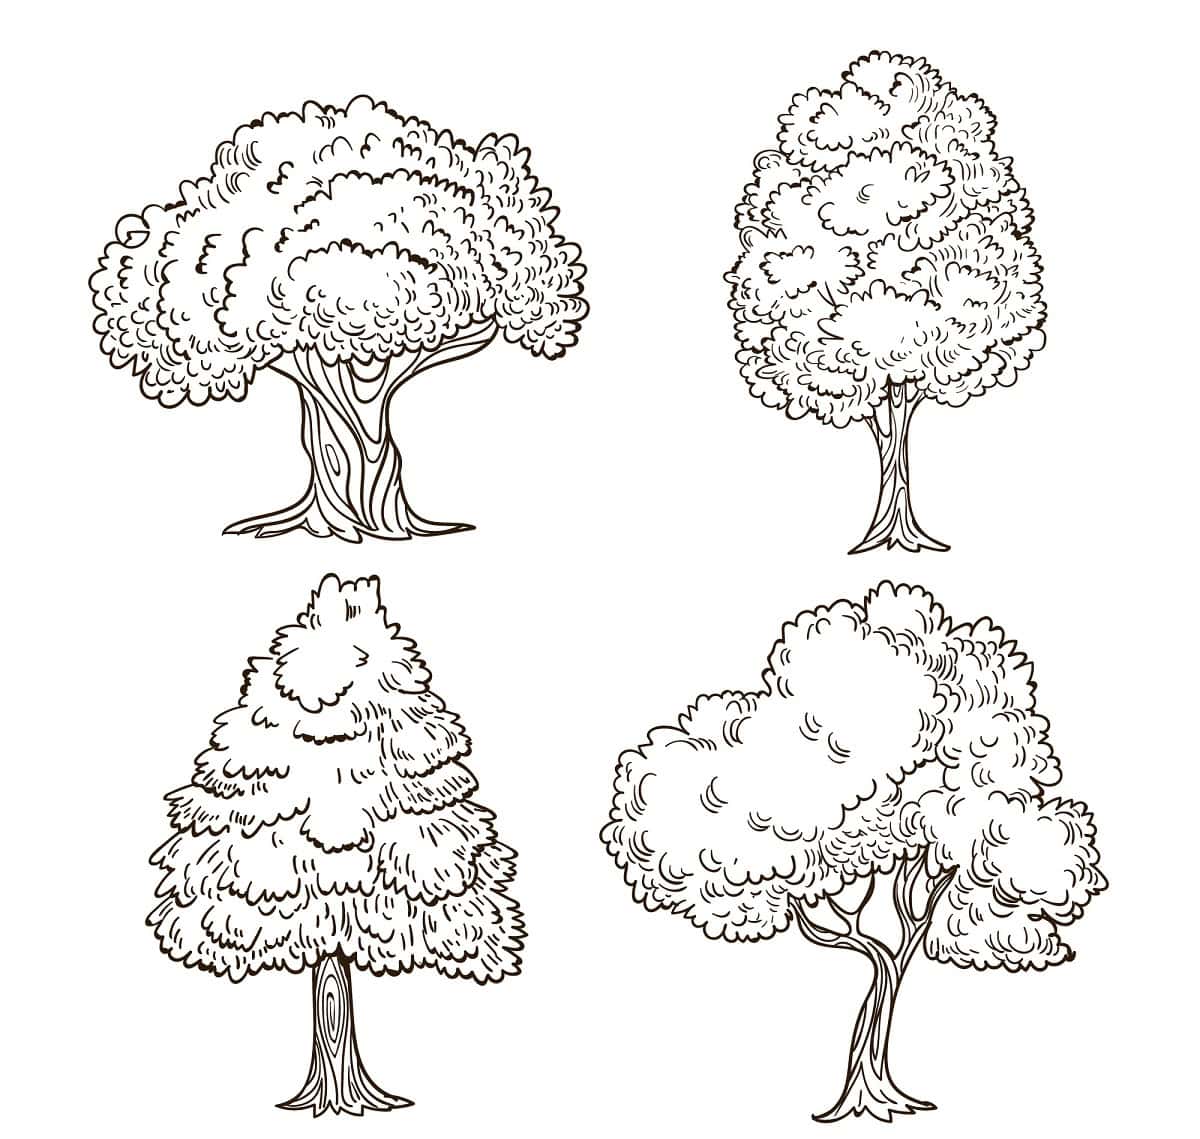
- Start by drawing a vertical line for the trunk;
- Add branches extending from the trunk in different directions;
- Draw leafy foliage on the branches using curved and jagged lines;
- Add texture to the trunk with lines and knots;
- You can also add a background or other elements like birds or a swing to enhance your tree drawing.
8. Sun
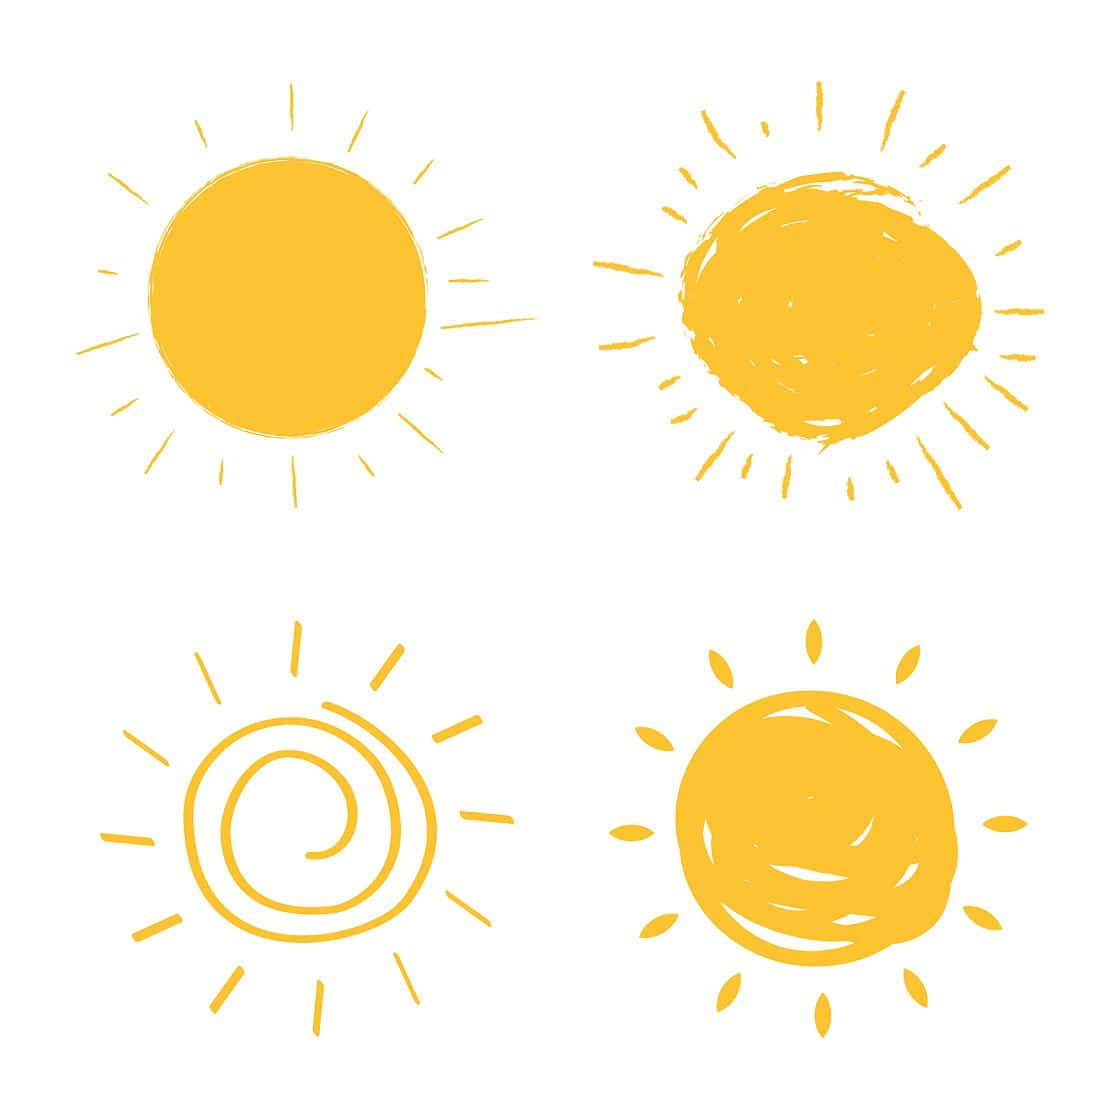
- Begin by drawing a large circle for the sun;
- Add wavy rays extending outward from the circle;
- Optionally, you can draw a smiling face on the sun;
- For a sunset scene, draw a glowing sky with warm colors;
- Consider adding silhouettes of trees or mountains to complete the scene.
9. Cloud

- Start by drawing a fluffy, irregular shape;
- Add smaller cloud shapes around it;
- Use light, curved lines to create the cloud’s soft appearance;
- You can draw a cloud floating in the sky or a stormy cloud with raindrops.
10. Butterfly
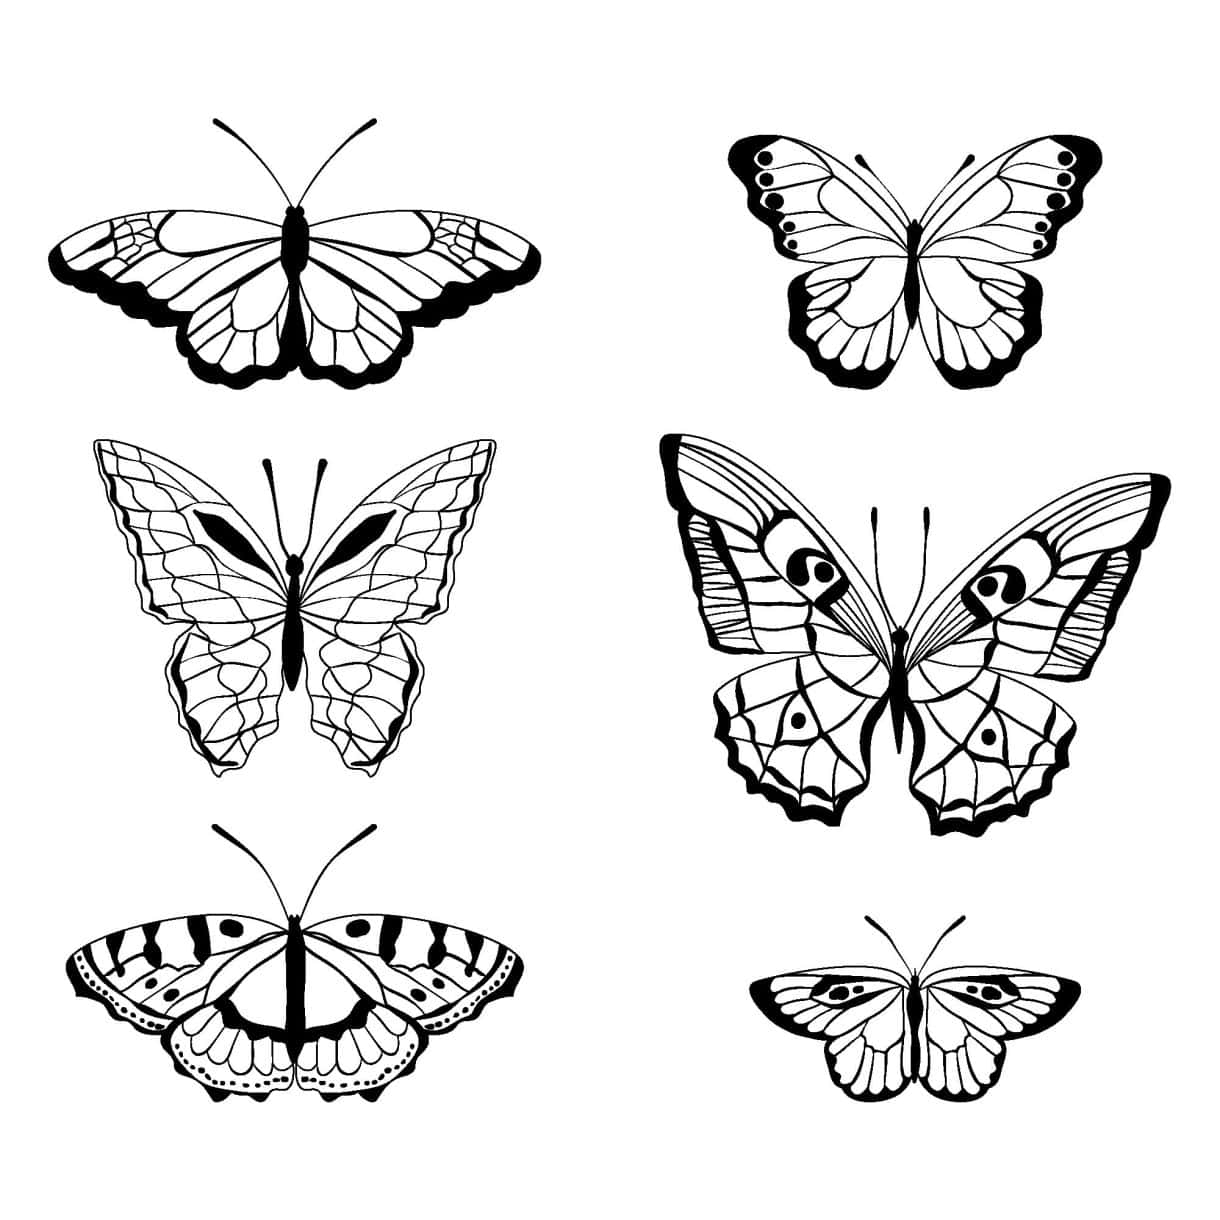
- Begin with a horizontal oval shape for the butterfly’s body;
- Add symmetrical, elongated shapes on both sides for the wings;
- Decorate the wings with intricate patterns and markings;
- Complete your butterfly by drawing antennae on top of the head;
- Add delicate legs at the bottom of the body.
Objects
Drawing everyday objects can be a fun way to sharpen your observation skills. Here are five objects that are easy to draw:
11. Cupcake
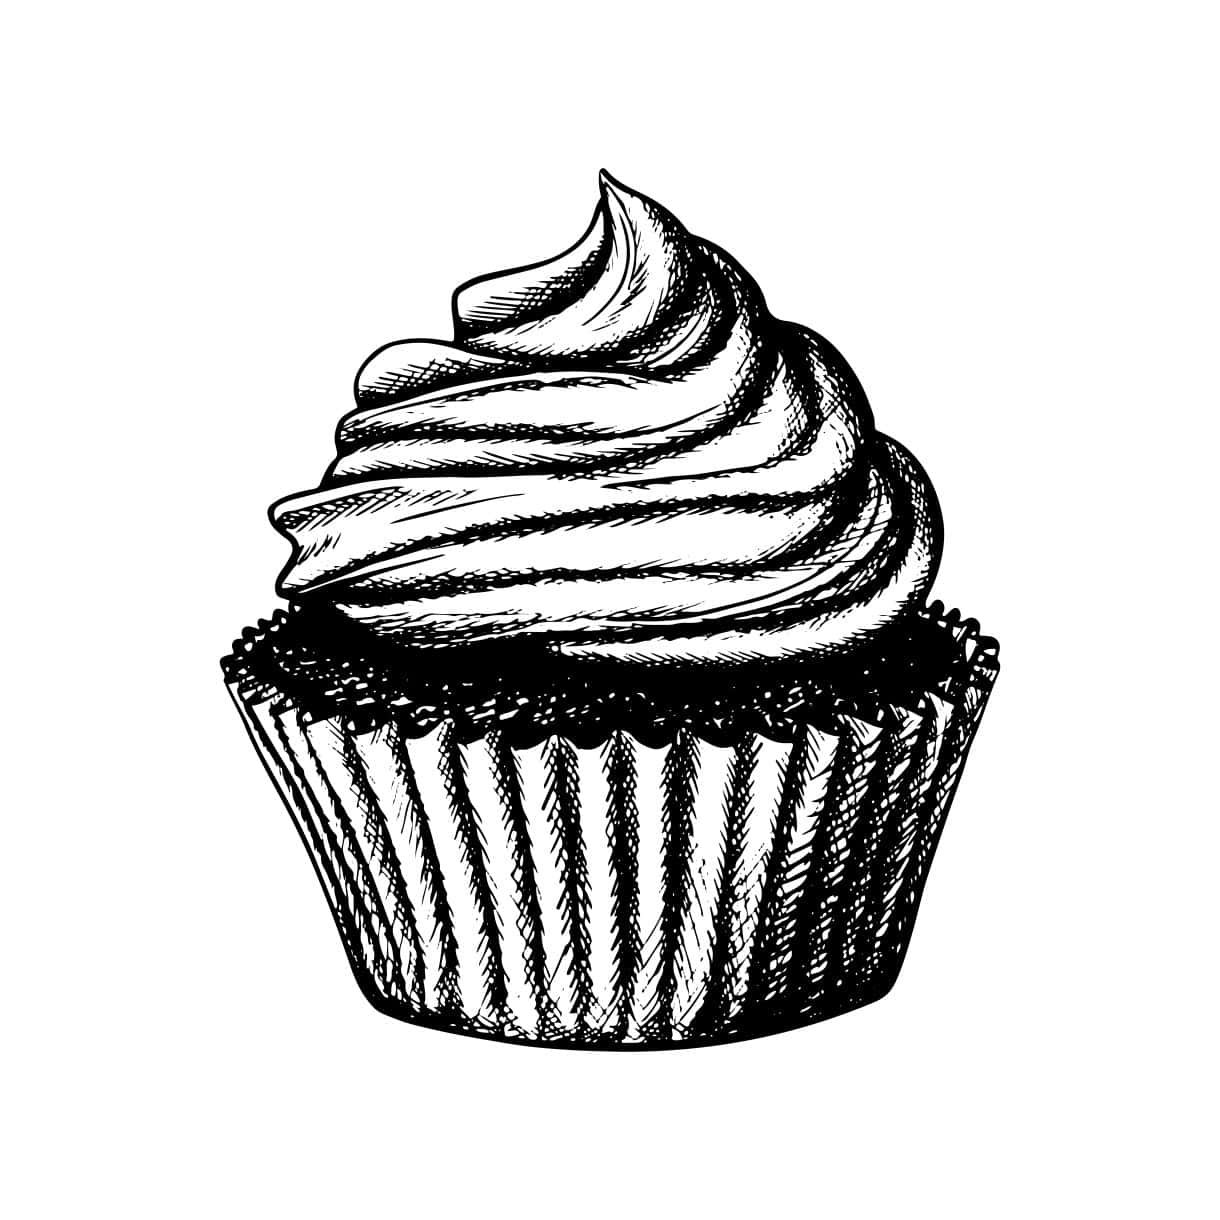
- Start with a trapezoid shape for the base of the cupcake;
- Add a smaller oval on top of the base to represent the frosting;
- Draw a cherry or other decorative elements on the frosting, such as a swirl or sprinkles;
- Finish by adding lines around the base to depict the cupcake wrapper and sprinkle some small dots on the frosting for sprinkles.
12. Guitar
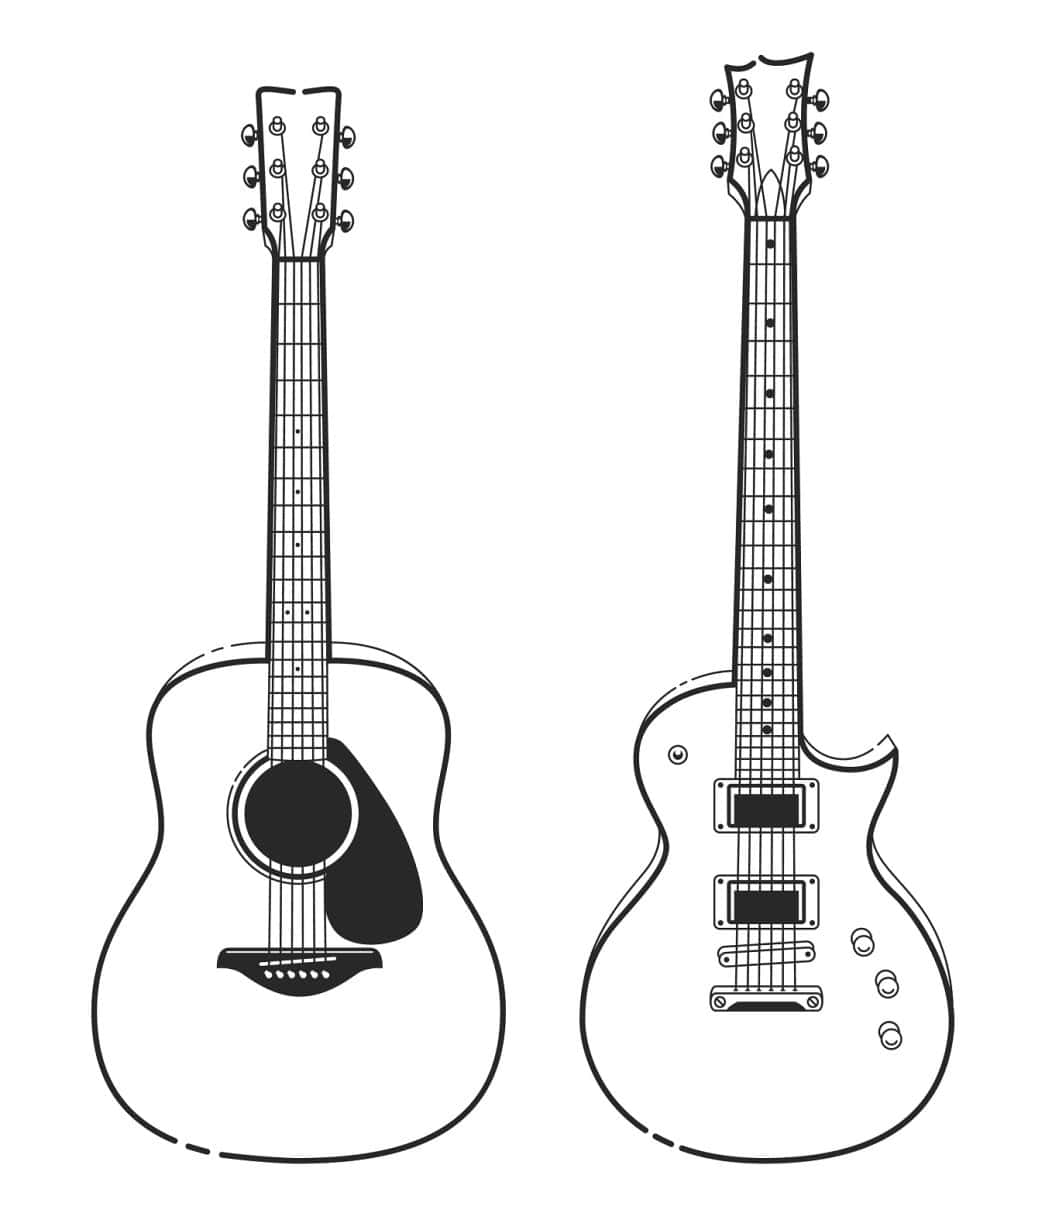
- Begin by drawing the guitar’s body shape, which resembles an hourglass;
- Add a long, narrow neck extending from the body;
- Draw a headstock at the top of the neck;
- Add the strings by drawing parallel lines along the neck and body;
- Draw the frets as horizontal lines across the neck;
- Add tuning pegs on the headstock;
- Enhance your drawing by adding details like sound holes on the body and decorative patterns on the body or headstock.
13. Camera
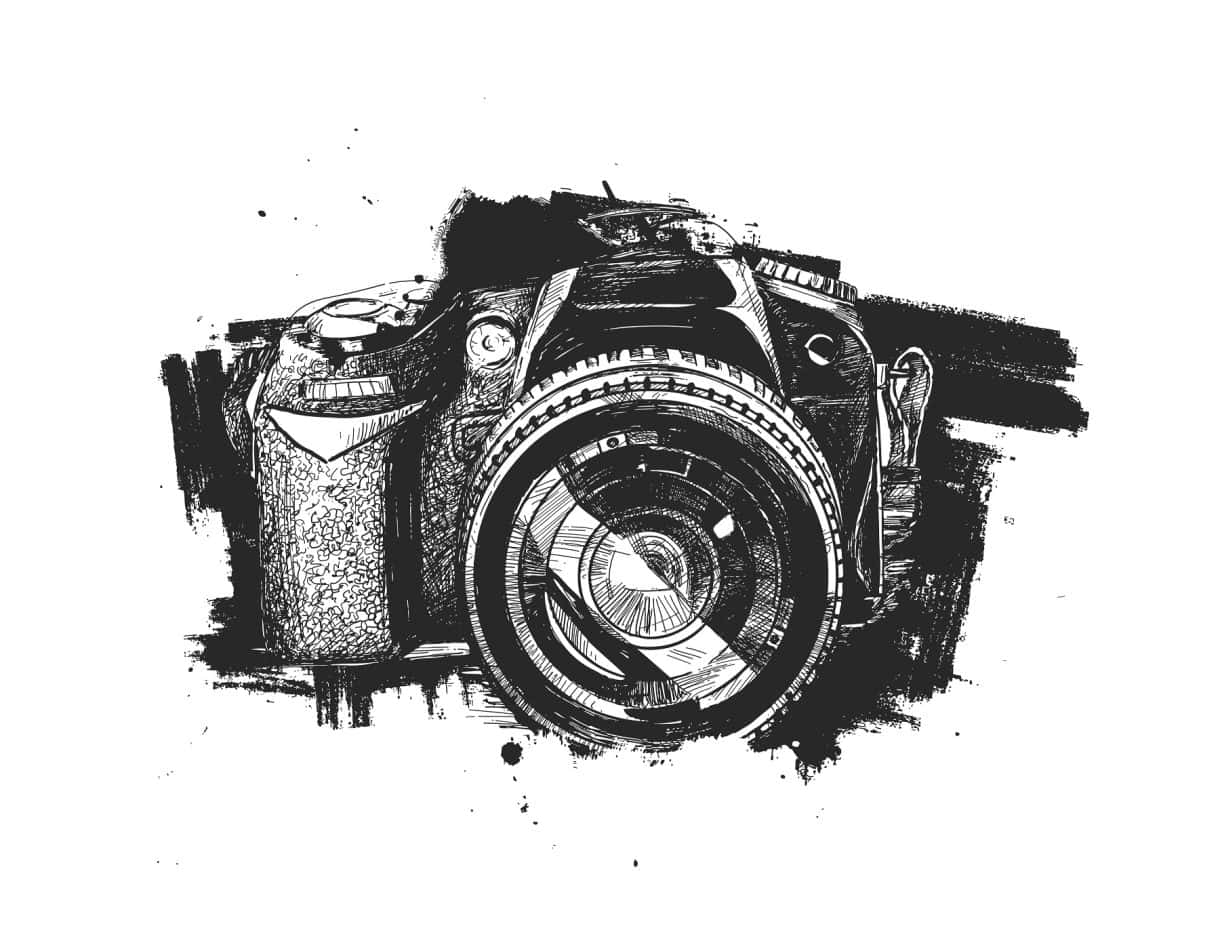
- Start by drawing a rectangular shape for the camera body;
- Add a smaller rectangle on top of the body to represent the viewfinder;
- Draw the lens in the center of the body;
- Add buttons and controls around the body, such as shutter buttons or mode dials;
- You can also add a strap or tripod by drawing additional lines or shapes connected to the camera body.
14. Umbrella
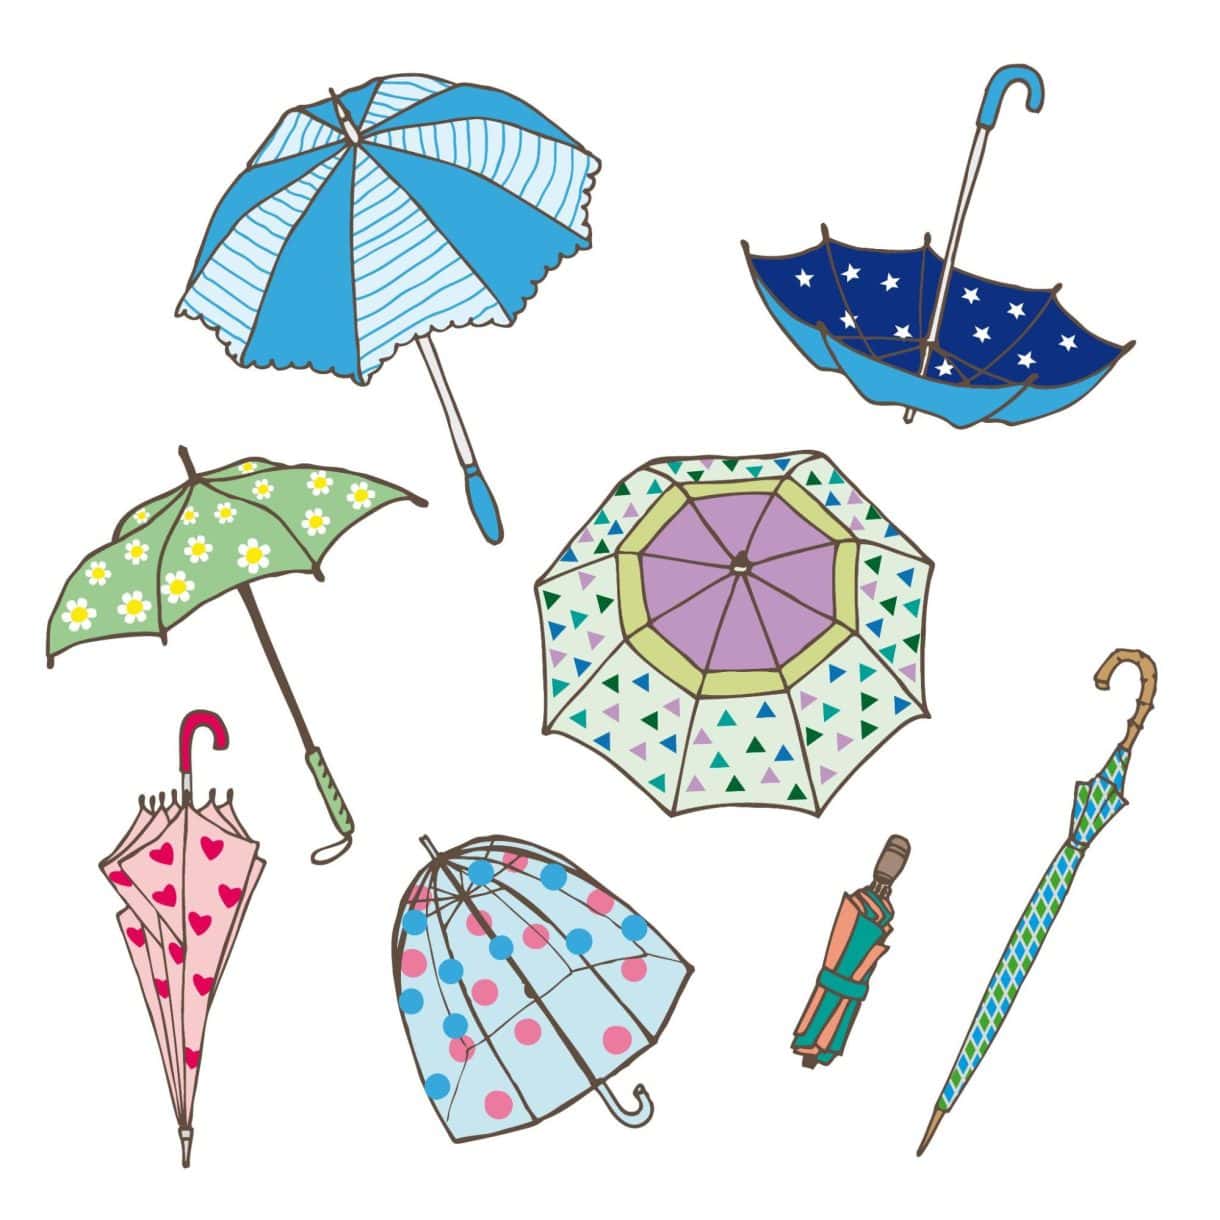
- Begin by drawing a curved line for the handle of the umbrella;
- Add a semi-circle shape on top of the handle to represent the canopy;
- Draw lines extending from the canopy to depict the umbrella’s ribs;
- Add details like a hook or rounded end at the bottom of the handle;
- Consider adding patterns or colors to the canopy for added visual interest.
15. Bicycle
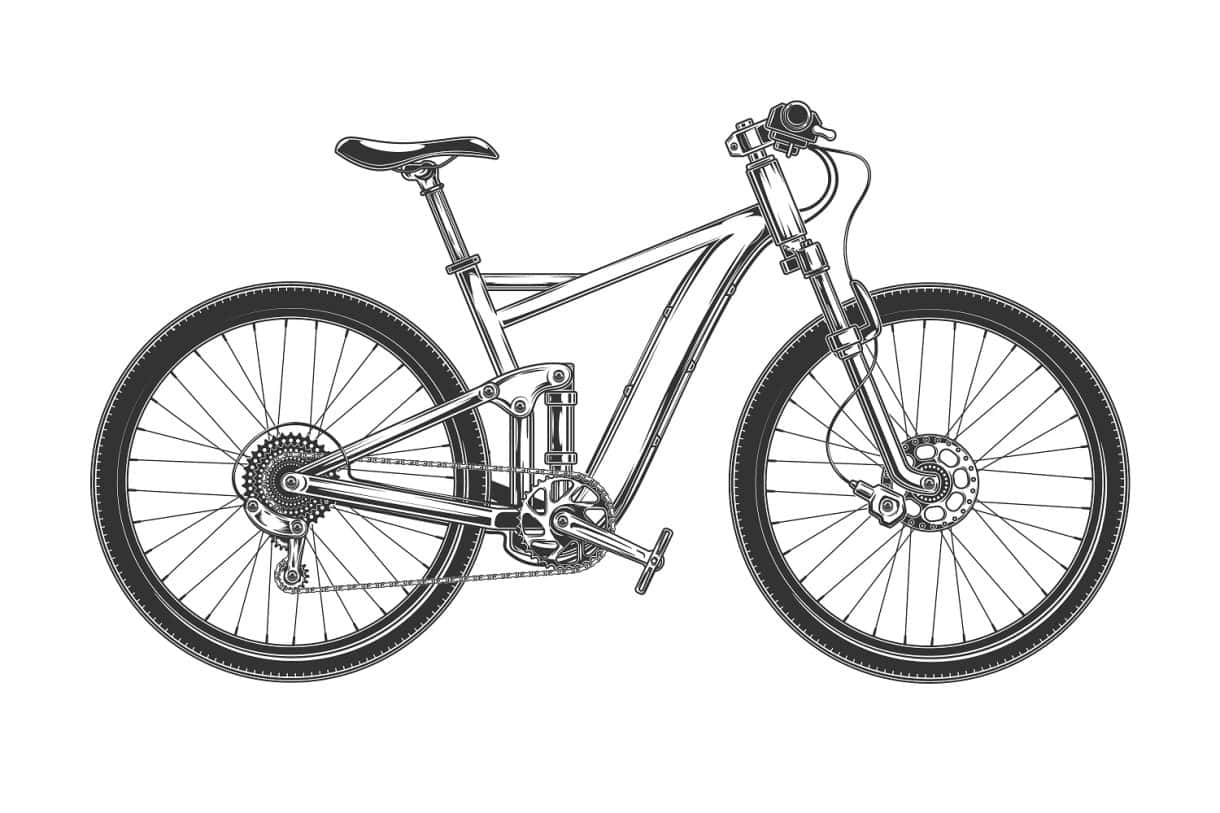
- Start by drawing two circles for the wheels of the bicycle;
- Add a frame by drawing triangles and rectangles to connect the wheels;
- Sketch the handlebars by drawing curved lines extending from the top of the frame;
- Add a seat by drawing a small oval or rectangle on the frame;
- Complete your drawing by adding details like spokes on the wheels, gears near the pedals, and a chain connecting the pedals to the rear wheel.
Food and Drinks
Drawing delicious treats and beverages can stimulate your artistic senses. Here are five mouth-watering ideas to inspire you:
16. Ice Cream Cone
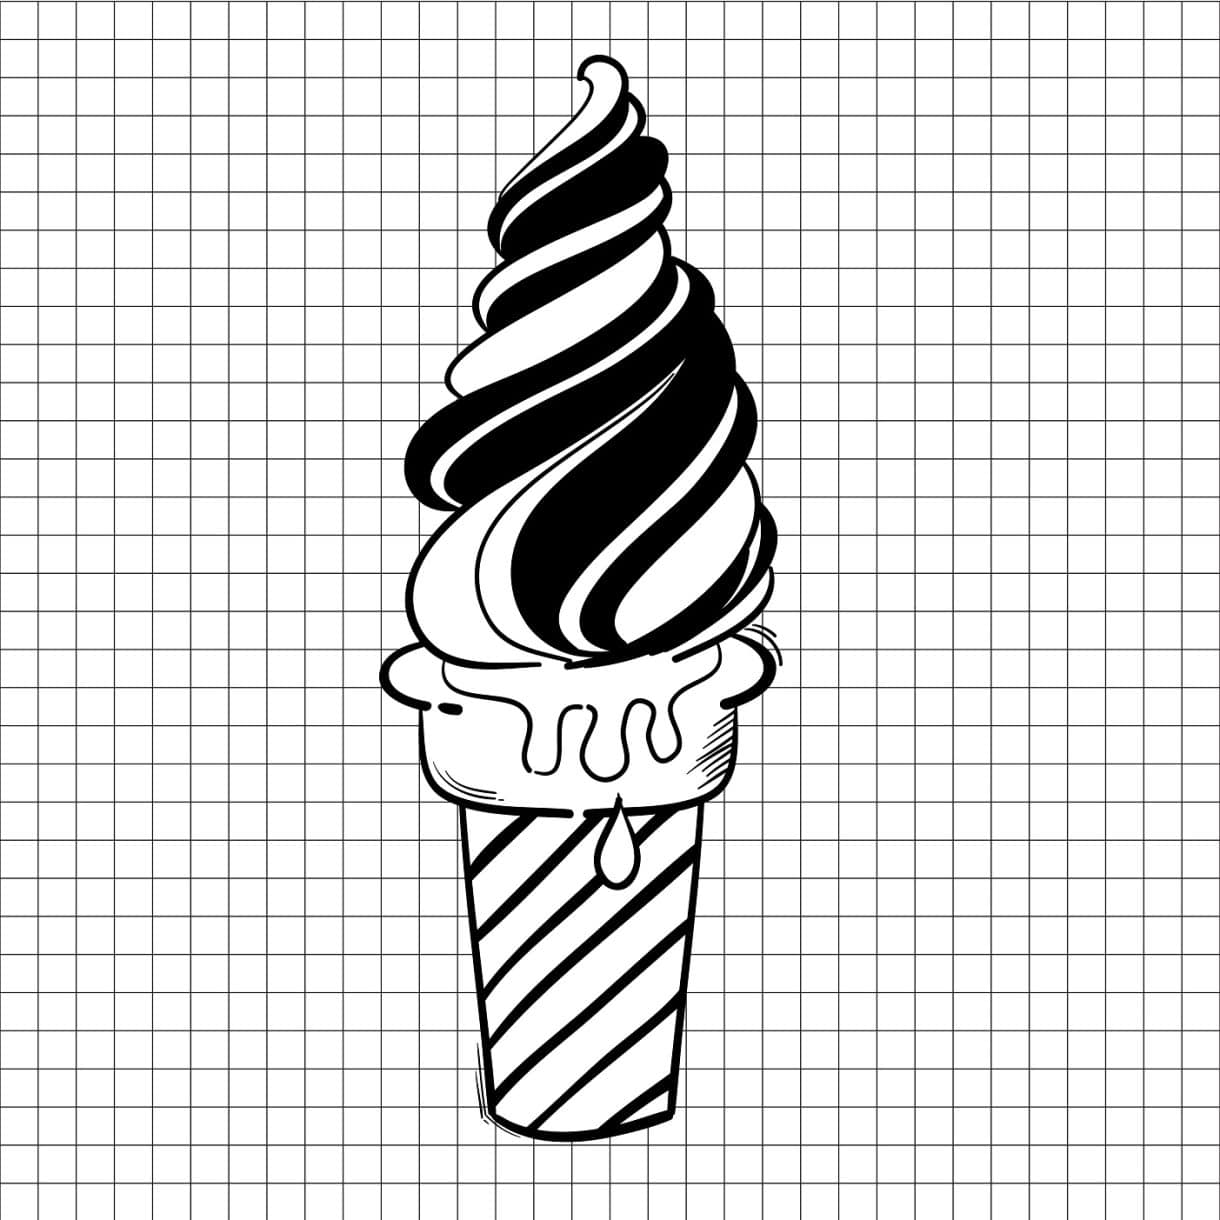
- Start with a triangle shape for the cone, with the pointed end facing downwards;
- Add a curved line on top of the cone to represent the ice cream;
- Draw scoops of ice cream on the curved line using semi-circles or ovals. You can stack multiple scoops if desired;
- Add details like sprinkles or a cherry on top of the ice cream using small dots or a small circle.
17. Pizza Slice
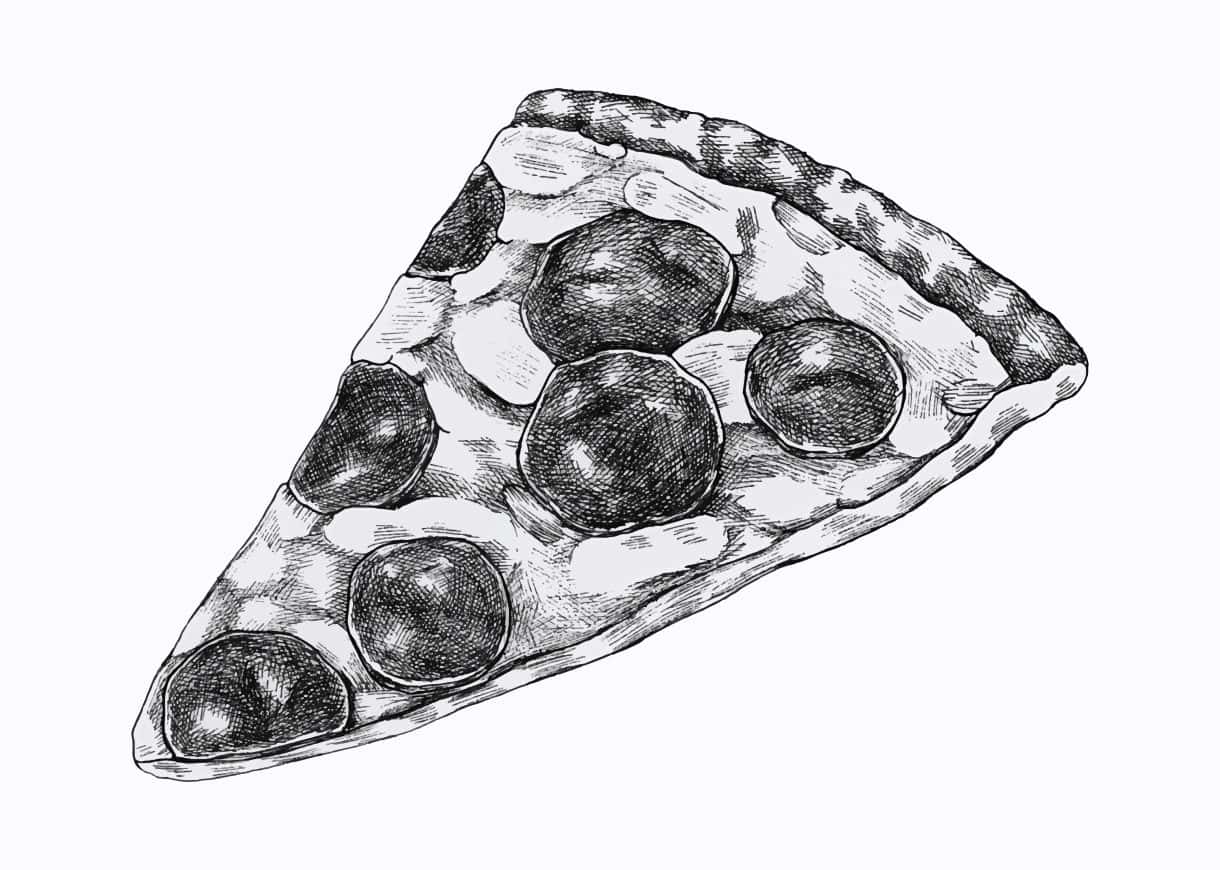
- Begin with a triangle shape for the pizza slice;
- Add curves along the edges of the triangle to represent the crust;
- Draw the toppings on the pizza, such as cheese, pepperoni, or vegetables. You can use various shapes and lines to depict the toppings;
- If you want to create a whole pizza, you can draw multiple pizza slices next to each other, each with its own toppings.
18. Watermelon Slice
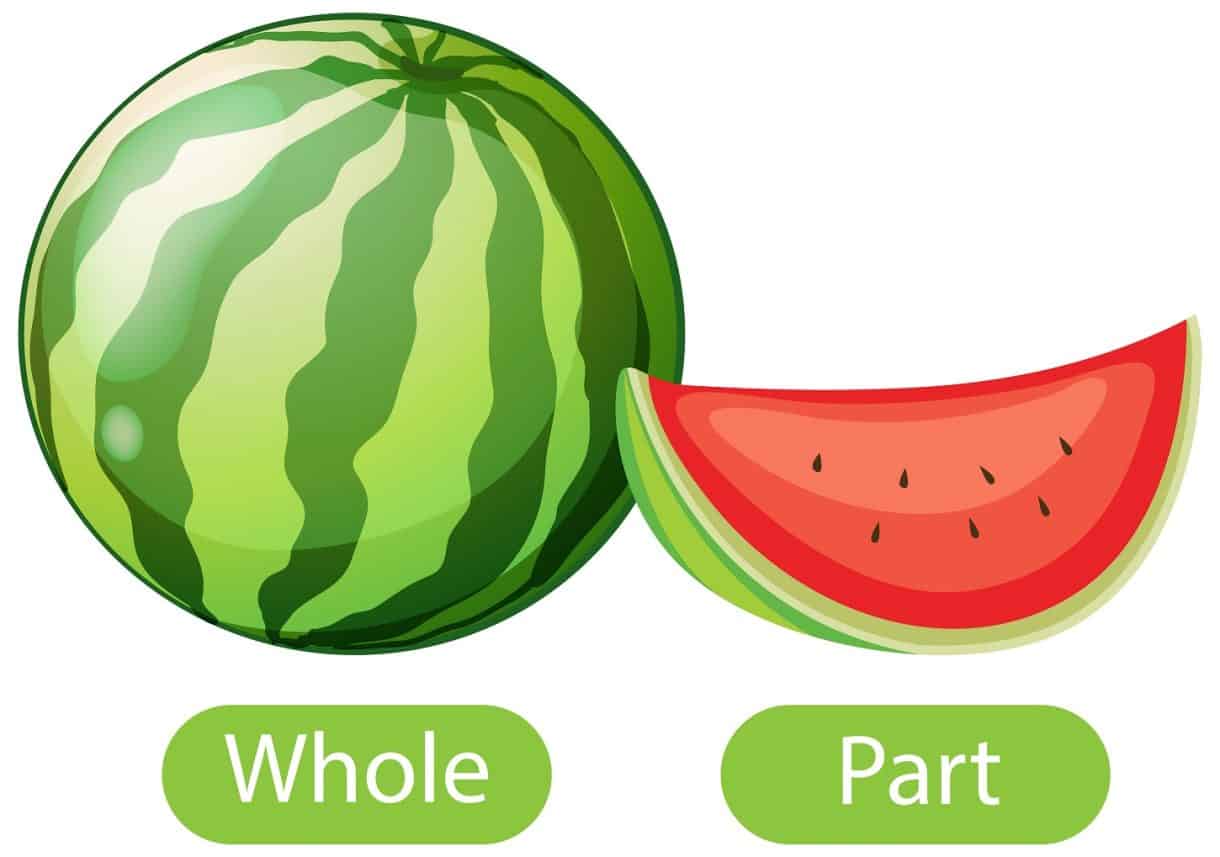
- Start with a curved line to represent the outer edge of the watermelon slice;
- Add a smaller curved line inside the outer edge to create the rind;
- Draw the juicy red flesh of the watermelon using a series of triangular shapes. Vary the sizes and angles of the triangles to create a realistic texture;
- Add black seeds on the red flesh. You can scatter them randomly or create a pattern with them.
19. Cup of Coffee

- Begin with a cylindrical shape for the cup, wider at the top and narrower at the bottom;
- Add a handle on the side of the cup, extending from the top to the bottom;
- Draw the coffee inside the cup using wavy lines to represent the liquid. You can add a few lines near the rim to show the surface of the coffee;
- Add details like steam rising from the cup using curved lines extending upwards. You can also add patterns or designs on the surface of the cup.
20. Donut
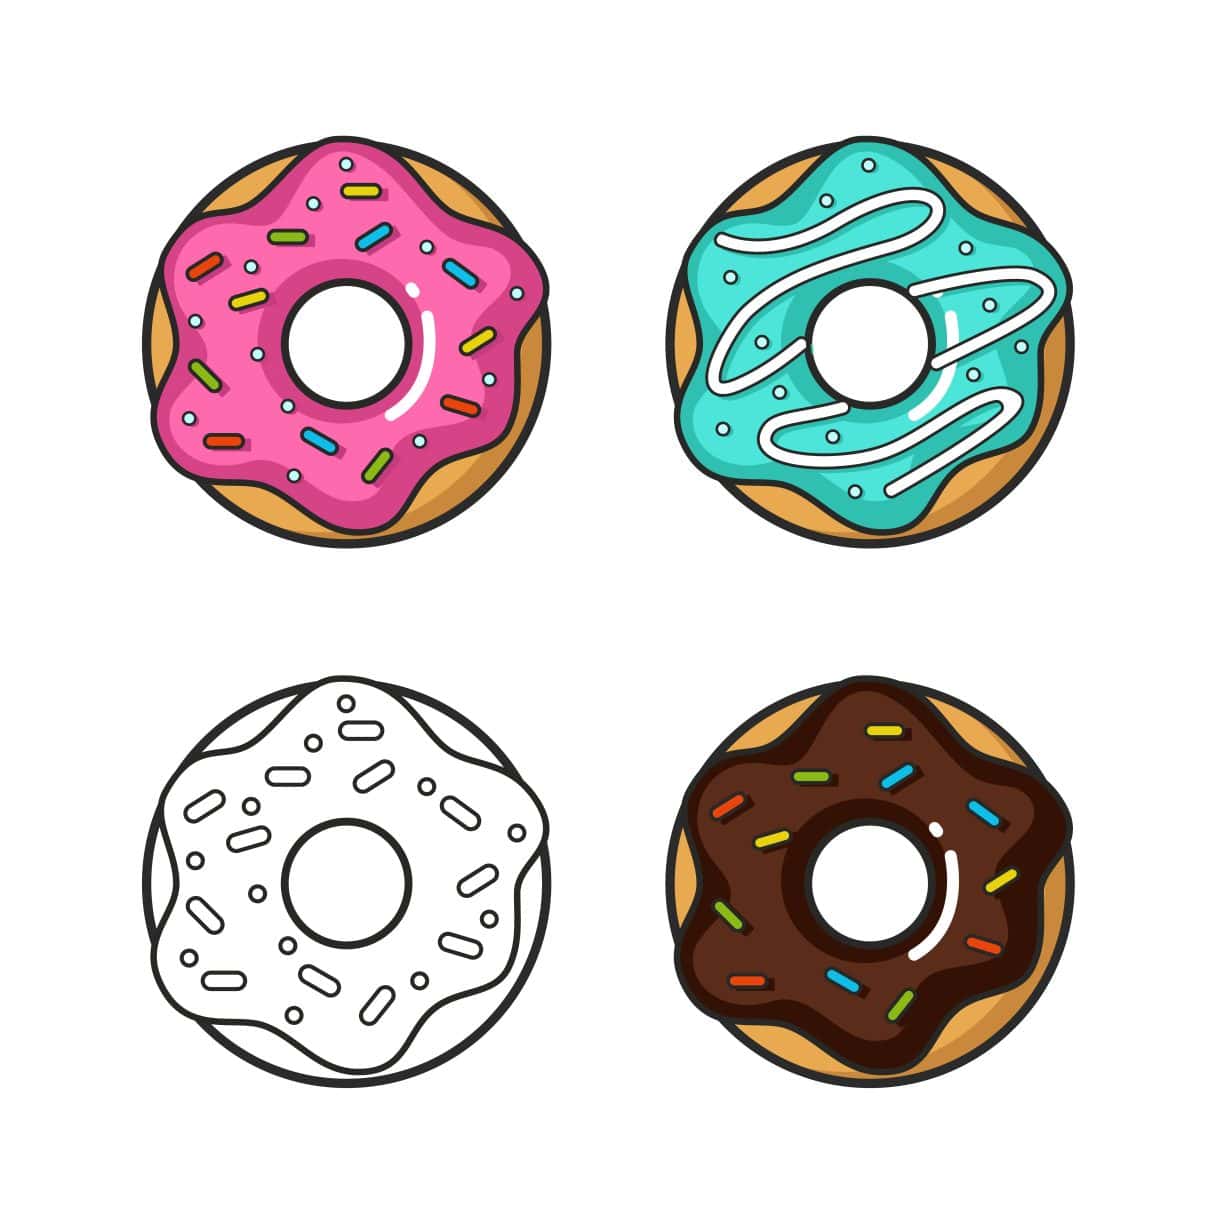
- Start with a large circle for the donut shape;
- Add a smaller circle inside the larger circle to represent the hole in the donut;
- Draw frosting or glaze on top of the donut using wavy lines or curves to create a textured appearance;
- Add sprinkles or other decorative elements on top of the frosting using small dots or short lines.
People and Faces
Drawing people and faces allows you to capture emotions and expressions. Here are four ideas to help you create captivating characters:
21. Smiling Face
- Start with a circle for the head;
- Add two large circles for the eyes. Within each eye, draw a smaller circle for the iris and a smaller dot for the pupil;
- Draw a curved line below the eyes to represent the smiling mouth. You can make it wide and curved upwards to create a big smile;
- Enhance the expression by adding eyebrows above the eyes. You can raise them slightly to give a more cheerful look;
- Consider adding eyelashes to the upper eyelids to add detail and femininity to the face;
- Add hair on top of the head and any additional details like freckles or dimples to complete the smiling face.
22. Cartoon Character
- Begin by sketching the basic shapes of the character’s head and body. This can include circles or ovals for the head and cylinders or rectangles for the body;
- Add the facial features, such as the eyes, nose, and mouth. Experiment with different shapes and sizes to create a unique character;
- Add additional details like ears, hair, and any unique accessories the character might have, such as glasses or hats;
- Exaggerate certain features or proportions to give your character a distinctive and cartoonish appearance;
- Once you’re satisfied with the basic structure, refine the lines and add more details and shading to bring the character to life.
23. Superhero
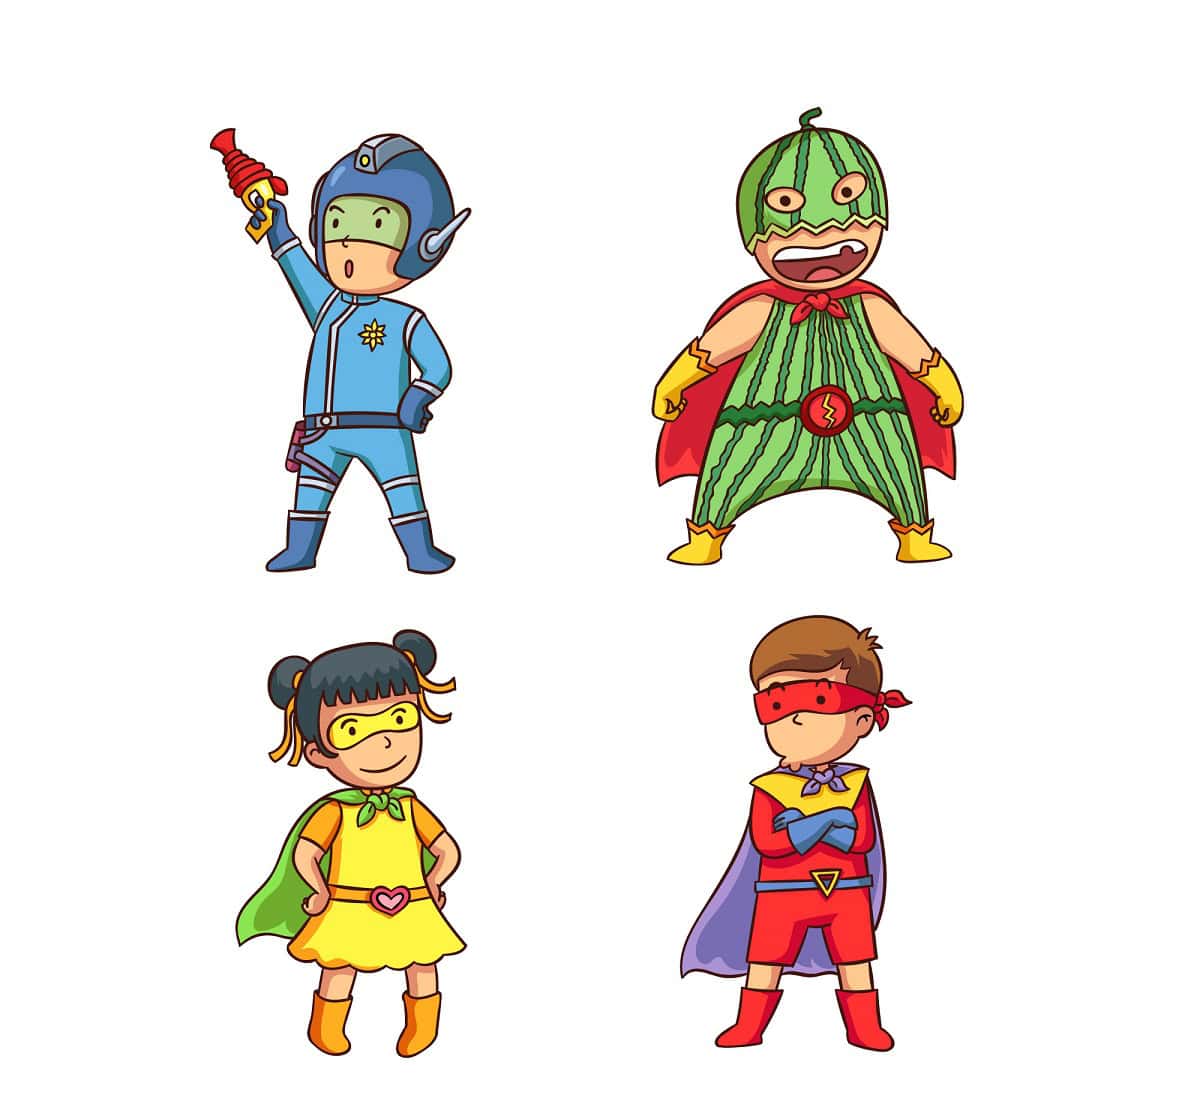
- Start by outlining the superhero’s body shape, emphasizing muscles or a costume. Use shapes like ovals or rectangles to define the torso, limbs, and head;
- Add a mask or helmet that covers part or all of the superhero’s face. Consider unique designs or symbols that represent their identity;
- Draw the facial features within the mask or helmet, such as the eyes, nose, and mouth. You can make them intense and determined to reflect the character’s superhero nature;
- Enhance your drawing by adding a dynamic pose, such as one with the superhero in action or ready to save the day;
- Add unique accessories that the superhero may have, such as a cape, emblem, or utility belt, to further define their identity and powers.
24. Portrait
- Begin by lightly sketching the basic shapes of the face, such as an oval for the head and guidelines for the eyes, nose, and mouth. Use light and loose lines to establish proportions;
- Gradually refine the features, paying attention to the individual characteristics of the person you are drawing. Observe the shapes and angles of their eyes, nose, and mouth to capture their likeness;
- Add shading to create depth and three-dimensionality. Observe the play of light and shadow on the face to determine where to add darker tones and where to leave areas lighter;
- Pay attention to details such as eyebrows, eyelashes, and wrinkles to add realism and capture the person’s unique features;
- Practice capturing different facial expressions to bring life to your portraits. Experiment with smiles, frowns, or surprised expressions to create dynamic and captivating portraits.
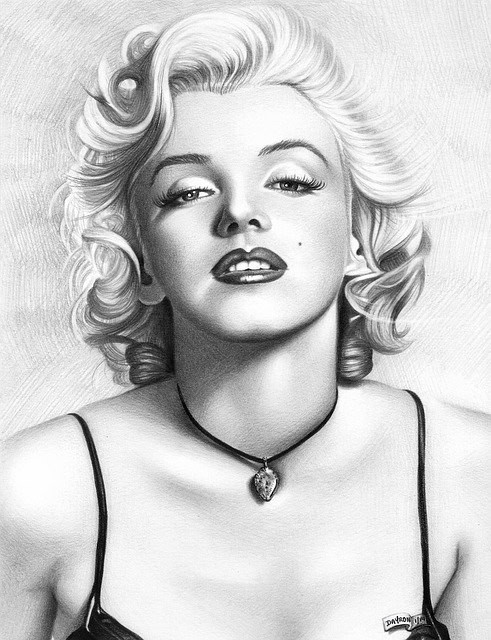
25. Celebrity Caricature

- Begin by sketching a basic outline of the person’s head and facial features. Use light, loose lines to establish the proportions and overall shape of the head;
- Exaggerate certain characteristics that are unique to the celebrity. Pay attention to prominent features such as their nose, eyes, mouth, ears, or hairstyle;
- Exaggerate the size, shape, or proportions of these features to create a humorous effect. For example, you can make a large nose even larger or emphasize the shape of their eyes;
- Observe and capture the celebrity’s expressions or signature poses that are associated with them. This could be a particular smile, raised eyebrows, or a distinctive pose they often strike;
- Pay attention to any signature accessories or items they are known for, such as hats, glasses, jewelry, or hairstyles. Emphasize these elements in your caricature to enhance the likeness and capture their unique style;
- Add shading and details to the features to bring depth and dimension to your caricature. This can be done through hatching, cross-hatching, or adding light and shadow;
- Keep practicing and refining your caricature to achieve a balance between capturing the celebrity’s likeness and exaggerating their features in a humorous way;
- Finally, step back and observe your caricature from a distance to see if the likeness and humor are effectively conveyed. Make any necessary adjustments to achieve the desired result.
Architecture
26. Car

- Start with a rectangular shape for the body of the car. This will serve as the main structure;
- Add wheels by drawing circles or ovals on the lower corners of the car’s body. You can connect the wheels with a base or axle;
- Draw details such as windows, headlights, and a grille on the front. You can customize the shape of the windows and the design of the headlights and grille according to your preference;
- Add additional details like side mirrors, door handles, and any other features that you’d like to include to personalize your car drawing;
- Consider adding unique features or designs to make your car stand out, such as spoilers, decals, or a convertible top. Get creative with the customization!
27. Hot Air Balloon

- Begin by drawing a large oval shape for the balloon. This will be the main body of the hot air balloon;
- Add a smaller oval shape at the bottom of the balloon to represent the basket where passengers stand;
- Draw ropes extending from the balloon down to the basket, connecting them together;
- Enhance your drawing by adding intricate patterns and colors to the balloon. Consider adding stripes, dots, or other designs that give it a lively appearance;
- You can also add small details like a burner or a flame above the basket to depict the heat source that inflates the balloon.
28. Star
- Start by drawing a small dot in the center of your paper. This will be the starting point of your star;
- Draw lines extending from the dot outward to create a star shape. Each line should connect to form the points of the star;
- Repeat the process, drawing additional lines to create more points for the star. The number of points is up to you, but a traditional star has five or six points;
- Adjust the length and angle of the lines to create a star that is visually pleasing to you. You can experiment with different sizes and styles of stars by varying the lengths of the lines or adding additional layers of points.
29. Sailboat
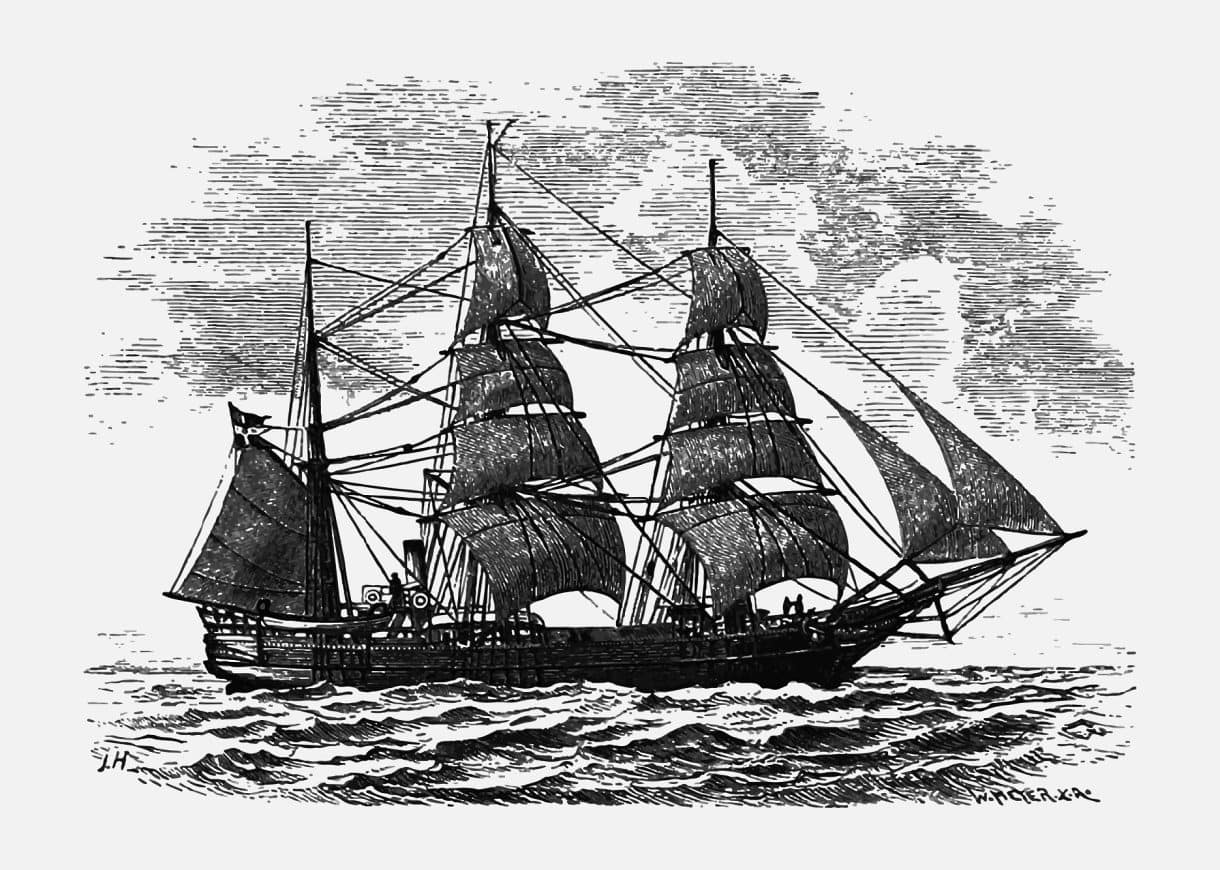
- Begin by drawing a curved line for the hull of the boat. This line should be elongated and curved upward at the front to create a sleek shape;
- Add a triangular shape at the top of the hull to represent the sail. The top of the triangle should connect to the top of the hull;
- Draw a mast extending vertically from the hull, connecting to the top of the sail. You can add a small flag at the top of the mast if desired;
- Enhance your drawing by adding details like waves in the water around the boat and clouds in the sky. You can also add additional elements like seagulls or a shoreline to create a more complete scene.
30. House

- Start with a rectangle for the main structure of the house. This will be the foundation of your drawing;
- Add a triangle on top of the rectangle to represent the roof. The base of the triangle should align with the top edge of the rectangle;
- Draw windows and a door on the front of the house. You can customize the shape and size of the windows and door based on your desired style;
- Add chimneys on the roof of the house, usually near the top corners. You can draw rectangular shapes or add more intricate designs to the chimneys;
- Consider adding additional details like a garden, trees, or a pathway leading to the front door to make your house drawing more complete and visually interesting.
Conclusion
Drawing is a wonderful way to unleash your creativity and relax. By following these step-by-step instructions, you can easily create 30 different drawings, ranging from animals and nature to objects, food, and people. Remember, practice is key to improving your skills, so keep drawing and exploring new subjects. Enjoy the process and let your imagination soar!